

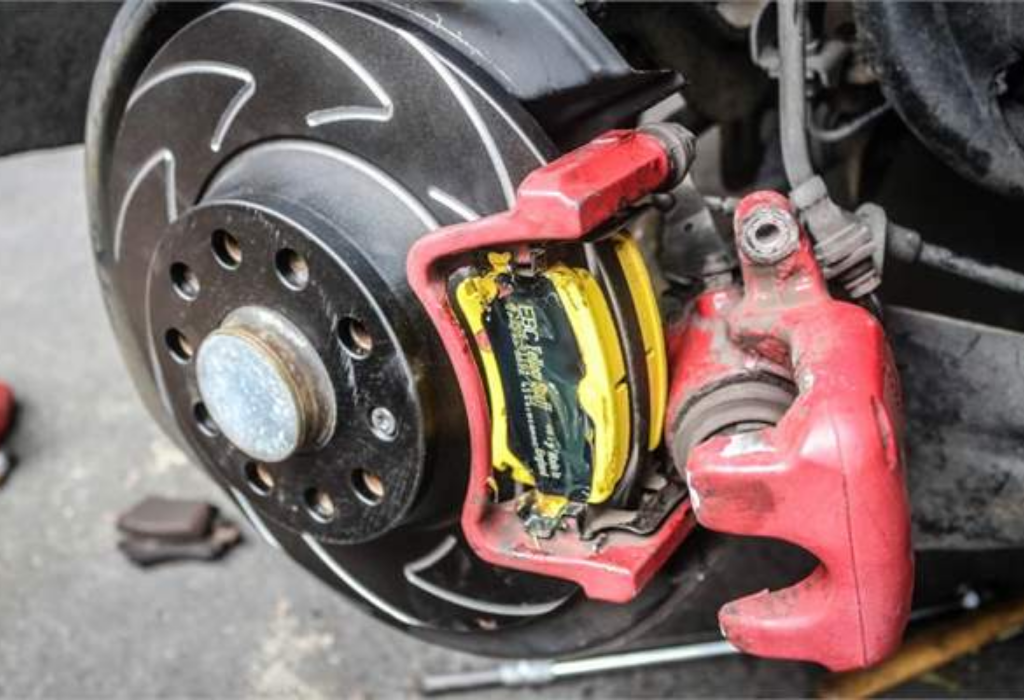
Following on from our recent guide to replacing the front brakes on our Project GTi with some upratted EBC Brakes items, it’s now time to move on to the golf rear brake discs and pads .
Here’s our golf rear brake discs and pads replacement guide:
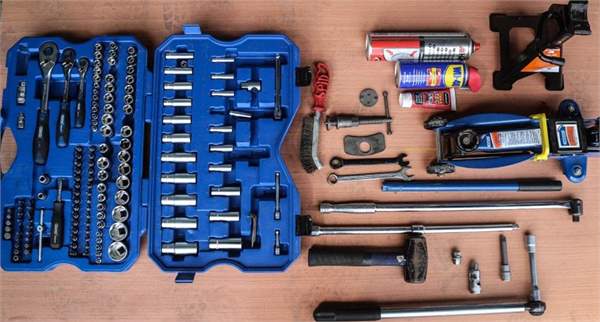
What you’ll need:
We should point out straight away that this job is a bit trickier than doing the front brakes and requires a couple of specialist hand tools that you may not have in your toolbox, namely the first two product in the list below:
- VAG caliper wind back tool
- M14 triple square bit (otherwise known as XZN spline or multi-spline bits)
- 1/2″ drive torque wrench
- Socket set including long 1/2″ drive extensions & a universal joint
- T27 Torx driver bit
- 1/2″ drive breaker bar
- 13mm & 15mm open ended spanners
- Large screw driver / pry bar
- Wire brush
- Car Jack & Axle Stands
- Brake cleaner
- Brake grease
- WD40
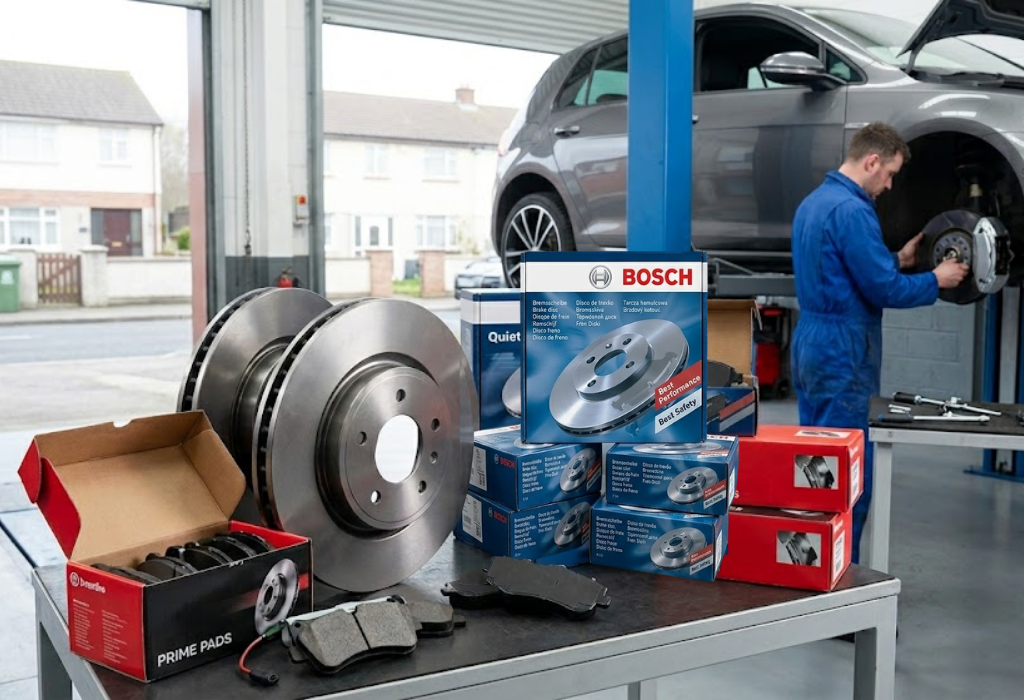
- Brake pads
- Brake discs
How long will it take?
Getting started:
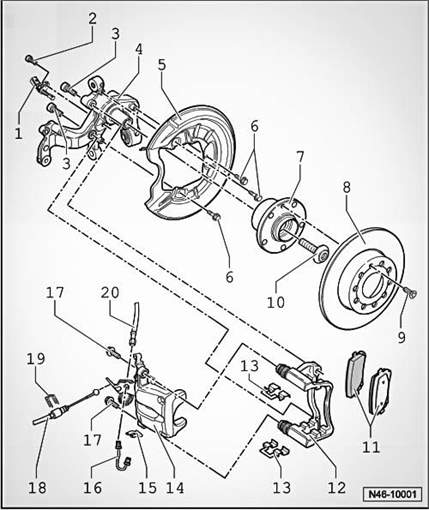
Step 1: Remove the brake caliper.
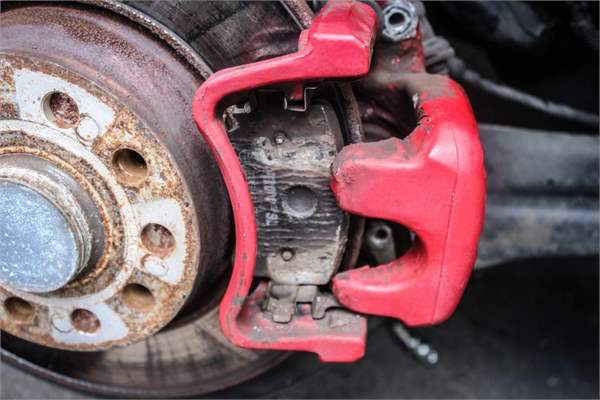
.
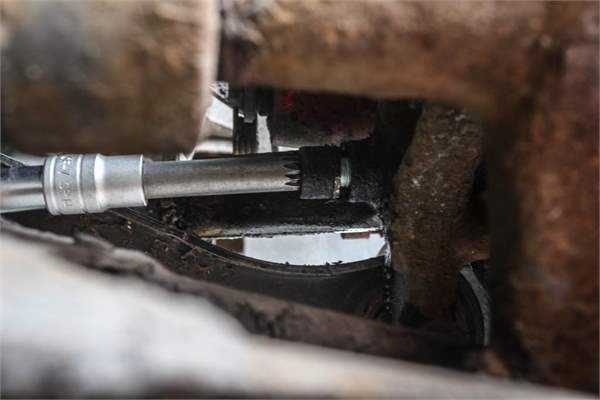
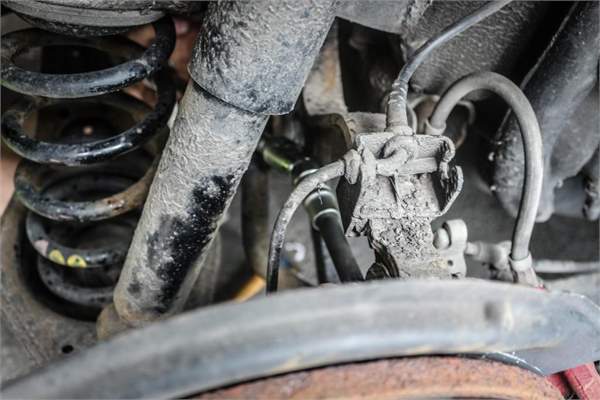
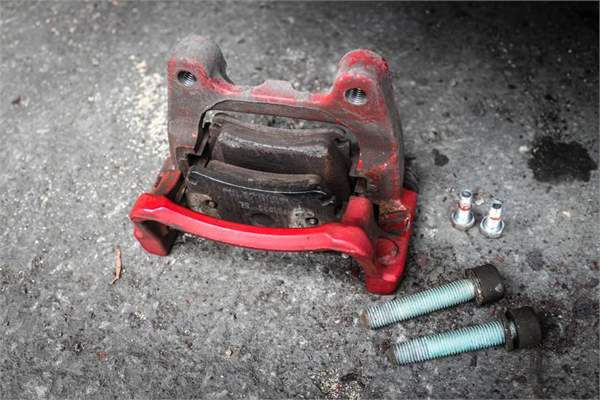
We had to use 3 extensions. A universal joint and a 600mm long breaker bar. We threaded them between the upright, shock and anti-roll bar. You’ll also need a LOT of force to get them undone! Once you have them undone, remove them completely and remove the caliper carrier
Remove the brake disc:
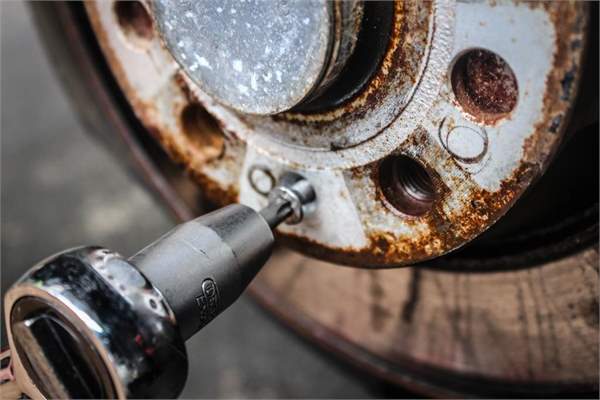
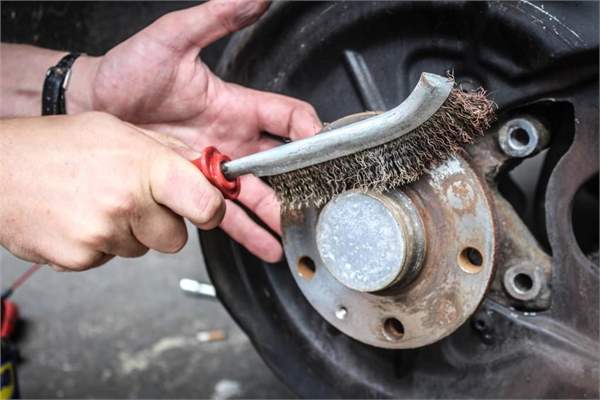
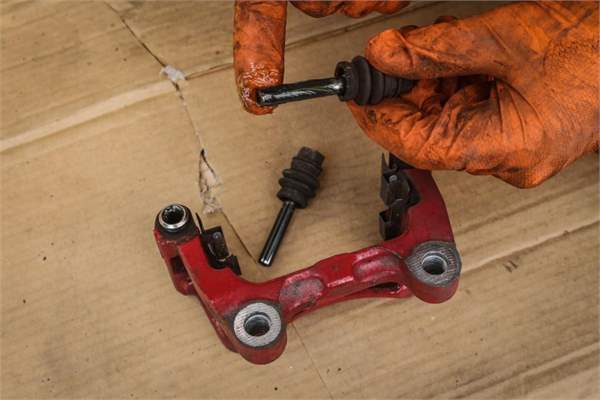
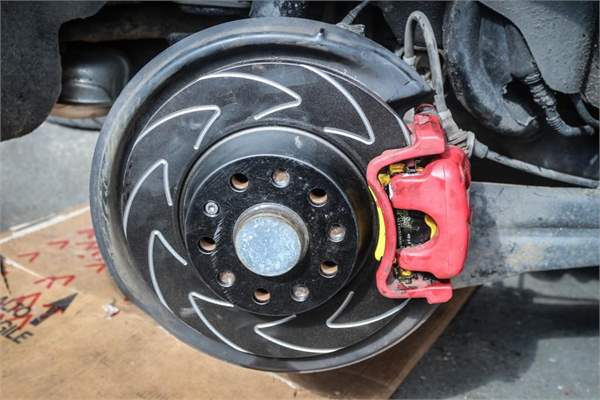
Remove the small locating screw on the disc. Give the surface of the hub a good scrub with a wire brush or sandpaper. Make sure you clean the caliper, carrier and the new brake disc with brake cleaner Fit the new disc and the retaining screw. Apply a small amount of brake assembly lube (Ceratec is ideal) to the guide pins. You can also apply this to the brake pad sliding surfaces. Reinstall the brake caliper carrier. Torque the attachment bolts to 90 Nm (66 ft-lb) plus 90 degrees. 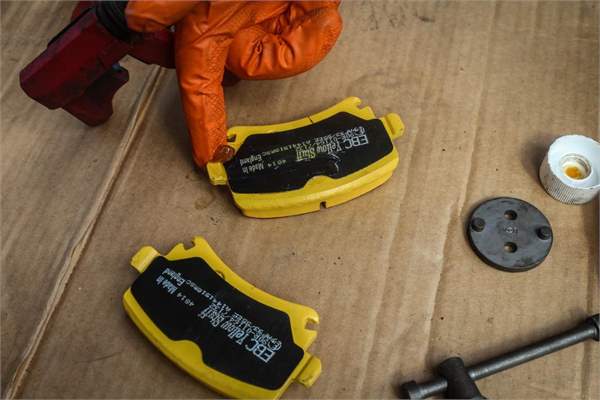
Refitting:
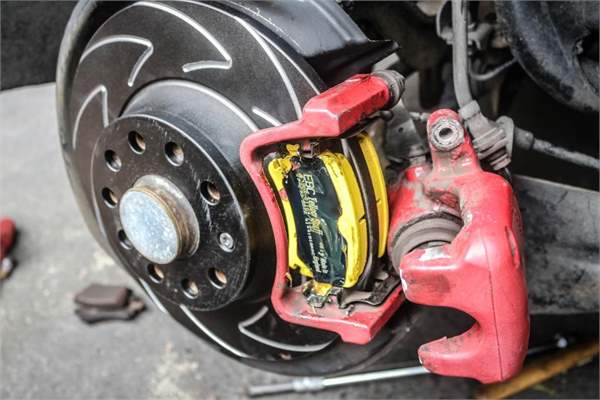
Install the new pads, being careful not to get any oil or greasy fingerprints on the brake friction lining. Press them tight against the disc.
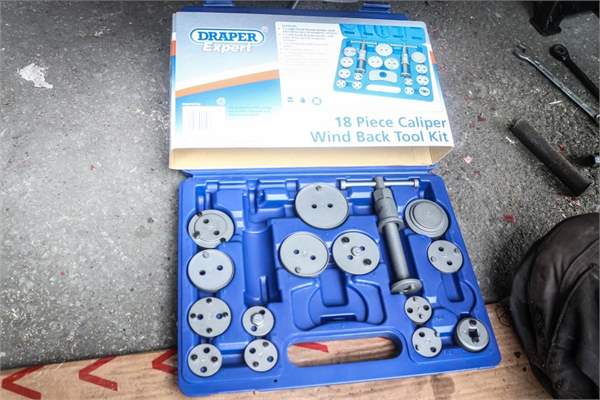
To reinstall the caliper you’re going to need a special Volkswagen/Audi Group (VAG) caliper wind-back tool. The piston in the brake caliper does not simply compress, it winds back into the caliper on a thread.
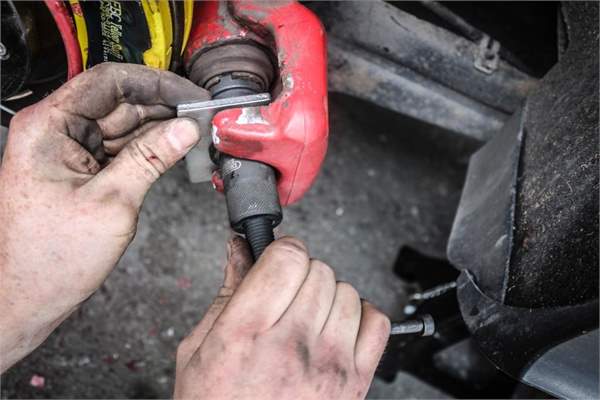
When the caliper piston retracted the caliper should slide over the disc. Align the holes in the caliper carrier with the slide pins. Push the M8 caliper bolts through the caliper carrier holes. Next screw them into the slide pin threaded holes. Hold the slide pin hex with a 15 mm open ended spanner and tighten the bolts with a 13 mm socket. Grab the torque wrench and tighten to 35 Nm (26 ft-lb)
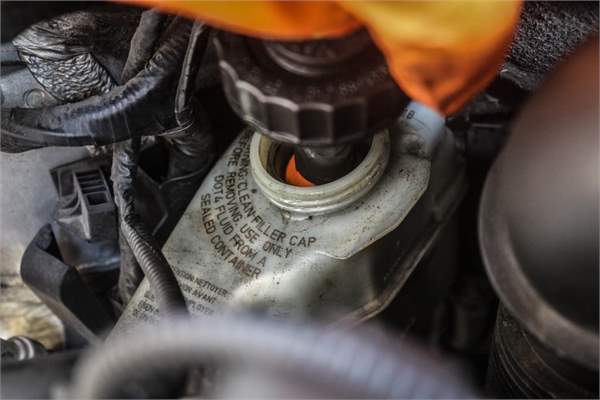
Reinstall the road wheels and torque the wheel bolts, tightening in a star pattern to 120 Nm (89 ft-lb). Make sure the cap on the brake fluid reservoir in the engine bay is on securely It’s very important, after lowering the car and reinstalling the road wheels to pump the brake pedal several times to properly position the caliper pistons against the pads.
Also check the handbrake operation, both apply and release. Once everything is ok there, check and top up the fluid level if required. Repeat the same procedure for the other side…. and bang – you’re done!



Leave a Reply