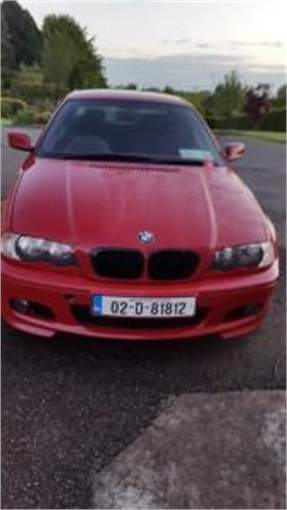
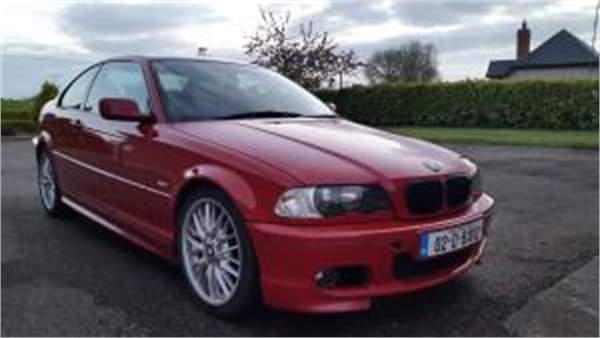
Recently my much loved much talked about (by me), but sadly not as well pampered as she should be E46 325 coupe known to everyone who knows me as “Ruby” has taken some time out from being my daily drive that she has been for the last 8 years. Tucking her away in the garage was not a happy day but sadly the Irish roads and 18 inch rims are taking it’s toll and there’s a few suspension bits that need to be taken care of, so she’s taking a bit of a rest. I recently popped into the garage to start her and realised much to my despair that the bonnet was starting to pink up and she was starting to look worse for wear. I’ll admit it was a little hard to look at and I needed to nip this in the bud. I called my dear friend Ted from AutoGlym Ireland and as always he was on hand with his expert advice and some really great tips to get that Imola red bonnet back in top condition.

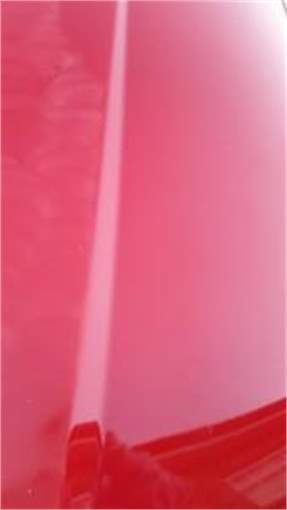
This is before but after the first wash so the pink has been slightly toned down by water and shampoo. All good detailing and paint care routines are three steps! As all those skincare ads on the telly tell you to cleanse, tone and moisturize your skin the paint work on your car is exactly the same.
Step 1.
Cleanse: Give the car a good wash! May seem a simple thing but there is a few key rules for washing cars (I’ll go into this in a little better detail another time but in short). Make sure your sponges are clean! You wouldn’t put that on your face would you... Use two buckets, one for washing and one for rinsing your dirty sponge or mitt. Always start at the roof and work your way down so you are constantly washing the dirt away from the sponge, and take care that your cloths and sponges NEVER touch the ground, sponges and cloths easily pick up dust and small stones which can leave horrible scratches on your paintwork. Step 1.5
Detar (I’ll admit this is really not my favorite job) I would advise you give the car another wash overall after de-taring.
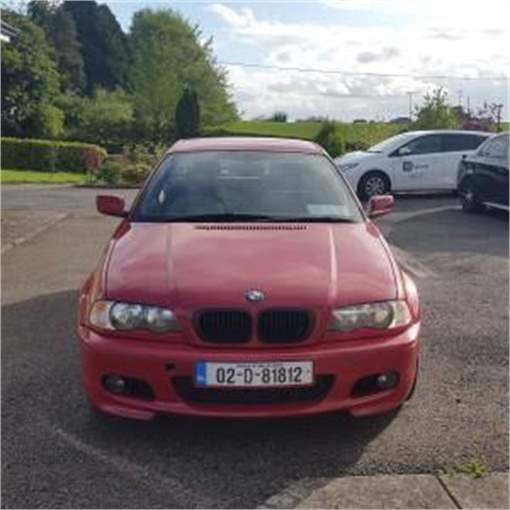
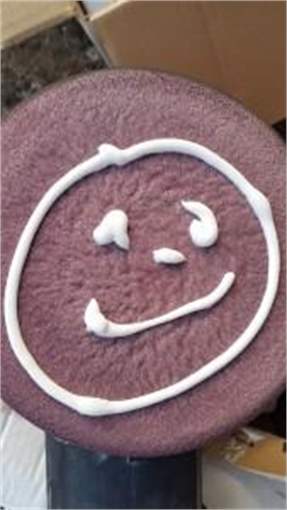 Smiley face is not essential but it helps!
Step 2.
Cleanse and Tone
Smiley face is not essential but it helps!
Step 2.
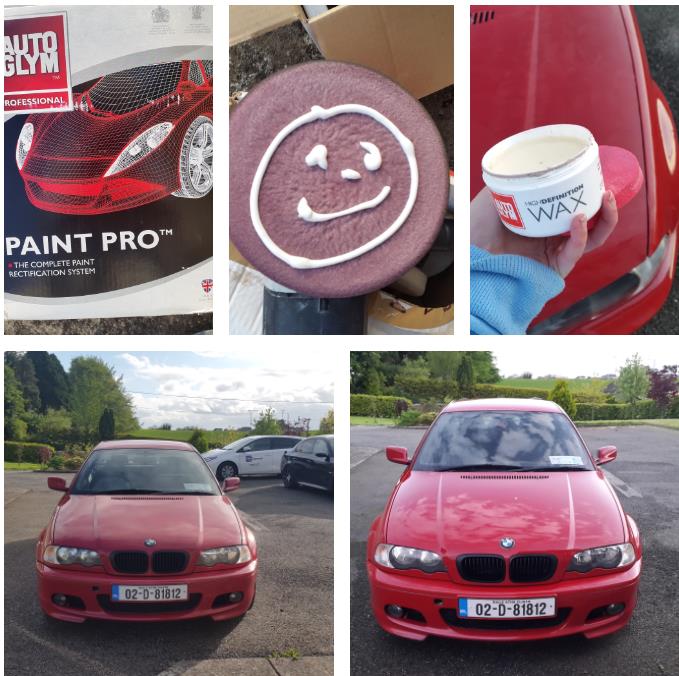
Cleanse and Tone: It was recommended because the bonnet was in pretty bad condition that I use AutoGlym Paint Pro, this is a 2 part renovate and refine system to be used with a machine buffer on extreme cases. It comes in a really smart box with both step one and step two and buffer pads for both parts. There is a really great instruction manual inside the box, which you should read in depth before your start but in short, make sure the panel surface in my case the bonnet is freshly washed and completely dry then apply the “Renovate” to the Renovate buffer pad, in a horizontal motion run the buffer at a very low rpm shoulder width apart from side to side applying medium pressure repeat this motion ten times and as per the instructions. Slowly increase the buffers RPM and repeat the process until all the residue of the renovate liquid has disappeared. Step 2 in the Paint Pro kit is “Refine” this follows a very similar process with the second buffer pad provided, starting on a low rpm and gradually increasing. Very soon you will see the second step “Refine” disappearing to reveal a pretty awesome shine. As with all paint treatments like this or just applying wax to your cars paintwork once you start don’t leave the product on the paint any longer that it takes to finish the panel you’ve started, and start and finish each panel before moving on the next, have your tea break before you start!
 Step 3.
Moisturize:
Step 3.
Moisturize: I must say at this stage I was seeing some really great results and I was getting a great sense of achievement that Ruby was being restored to her former self so the next step was,
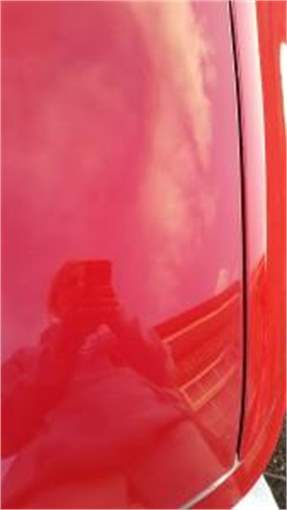
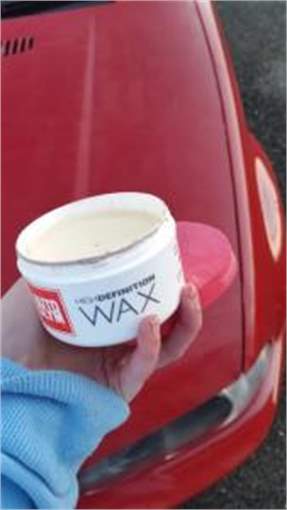
AutoGlym HD Wax, I can’t tell you how much I love this wax, for a start it smells absolutely amazing, there is quite an overwhelming temptation to taste it but I haven’t, and we don’t recommend you do either. Again I started on the top right corner of the bonnet and this time by hand with the little red applicator pads that come with the HD wax slightly moist I started to apply the wax. Creating the smallest circles by only dabbing the pad into the wax and moving down along the bonnet in vertical lines I slowly covered the bonnet in HD wax. When I reached the last section of bonnet the first section had glazed over to a lovely white haze and once I was finished it was time to start at the start once more and using the red microfibre cloth from the HD Wax kit in small circular motions remove the wax.
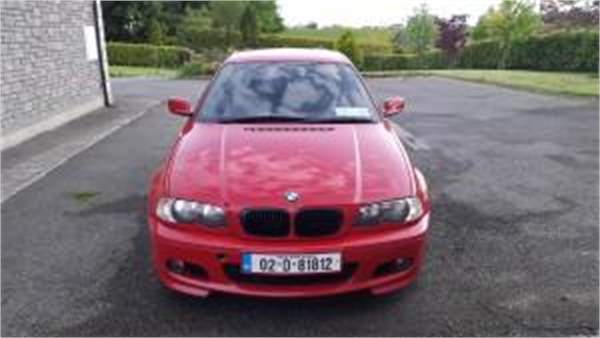
I must say I’m chuffed with the results! I did only manage to get the bonnet done before light got away from me but I will be finishing the job next weekend by giving the rest of the panels with
AutoGlym Renovator and topping that off with HD Wax or
AutoGlym Super Resin Polish. Thanks to Ted and Karen from AutoGlym Ireland for the expert tips and advice! We stock a huge range of AutoGlym products here at MicksGarage.com and you can find them all
here.
Words by
Amy 


