Upgrading the intercooler on Project GTI is something we've been wanting to do for quite a while and with the front bumper and grille off the car it seemed like the ideal opportunity to tackle the job.
What you’ll need:
We should point out straight away that this job is well within the grasp of the competent DIYer but it is time consuming and a little daunting as you'll need to remove the entire front end of your car to access the intercooler. Here's the list of tools we used:
How long will it take?
With two people we'd allow a full day - depending on experience and the equipment you have at your disposal. If you have the luxury of a ramp/lift the job will be much quicker and easier than with axle stands or ramps. A second pair of hands will be a huge help and we highly recommend working with a friend, not only to make the job easier but also for safety reasons.
Intercooler options
For the mk5 GTI there are a couple of off-the-shelf options if you want to upgrade to something larger.

Basically you can go for a 'Twintercooler' which is a secondary intercooler fitted in tandem with the original or you can go for a stock Audi S3 intercooler. We opted for the latter as it fits straight into the original mounting location, uses all the original fixings and is good for around 380bhp. You can of course go for a full custom install with a much larger intercooler if you're chasing big power.
You can either watch the video below to see how we got on with the install or read on if you prefer!
Getting started:
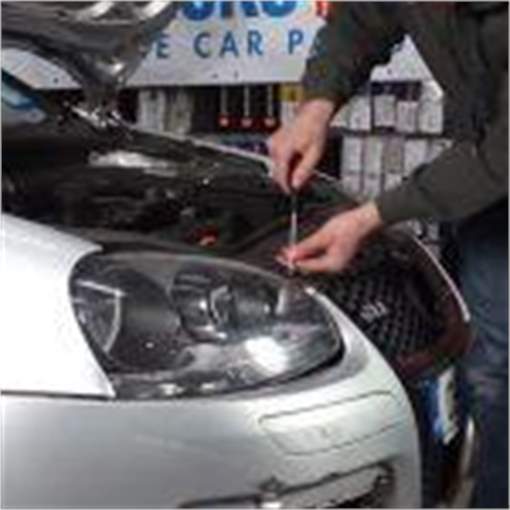
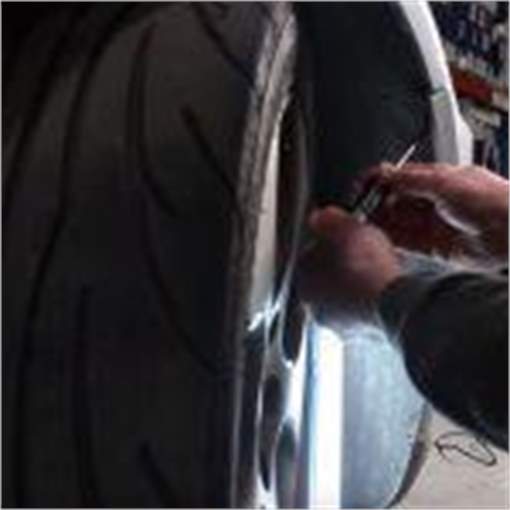
Safely raise and support the car on rigid axle stands or ramps ensuring they are rated for the weight of the car. Remove the centre grille and bumper and disconnect the fog lamps. The bumper and grille are held on with T25 and T30 Torx bolts. You'll need to remove all the Torx bolts from around the front edge of the wheel arch and where the bumper meets the undertray as well as at the top of the grille. Check out our short
video about removing the bumper
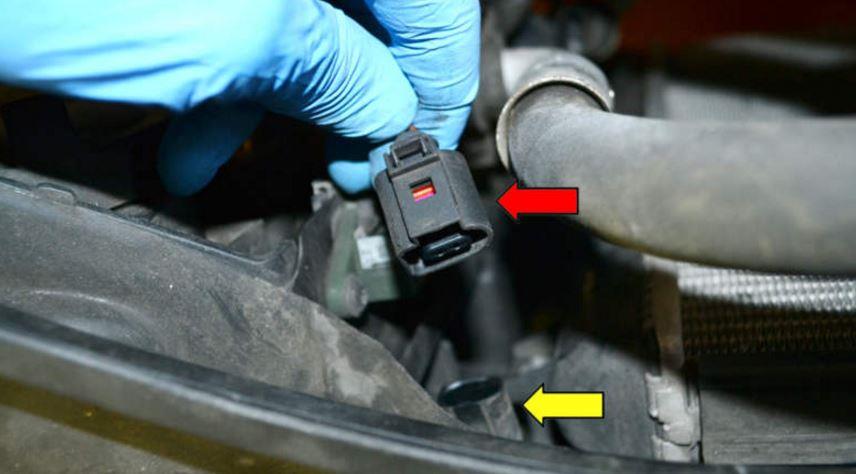
Disconnect the electric fan connection from the bottom left of the radiator
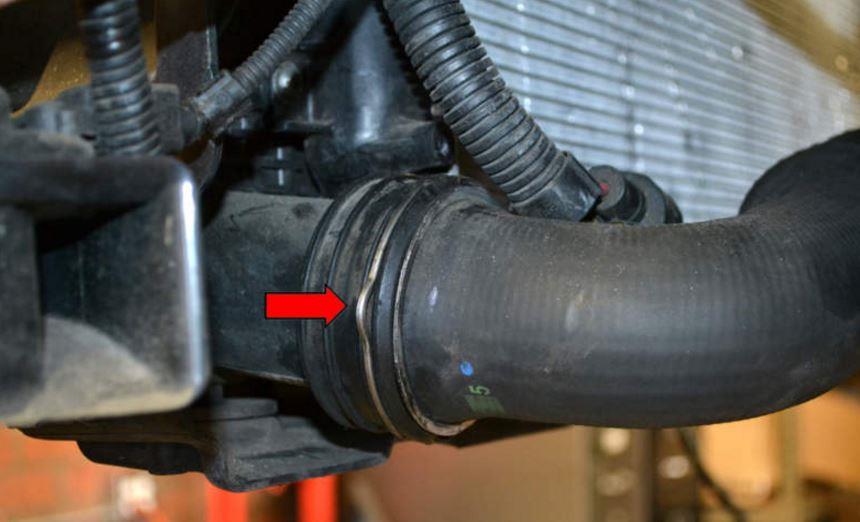
Undo the quick release clips on the intercooler hoses on both sides and remove the hoses
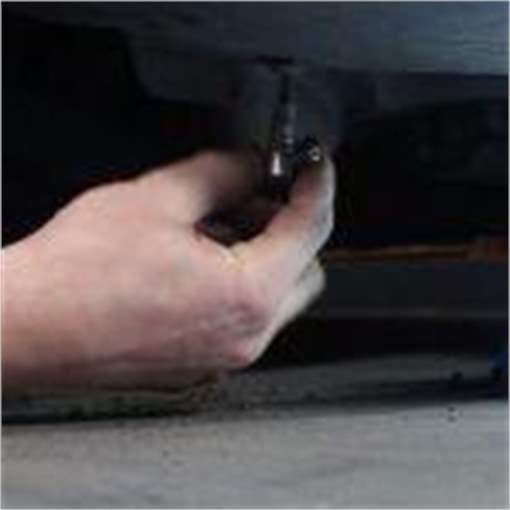
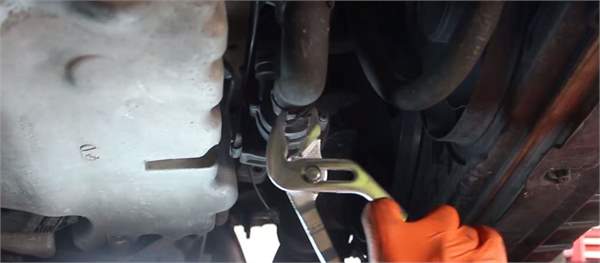
Next you'll need to drain the coolant, there are a couple of places you can drain it from but we found the easiest to get access to was the auxiliary waterpump which is located just in front of the sump. This also the lowest point in the system so will drain out virtually all of the coolant. Make sure you have a large drain pan handy and some cloth/towels as there will inevitably be some spillage.
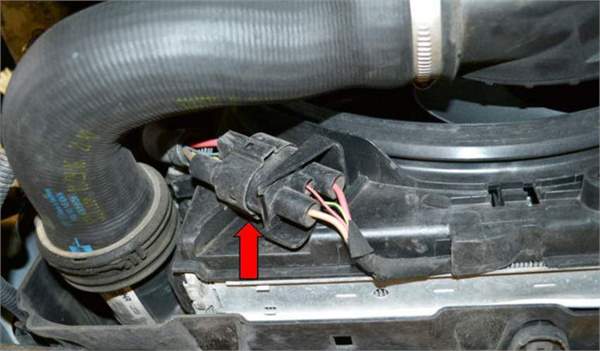
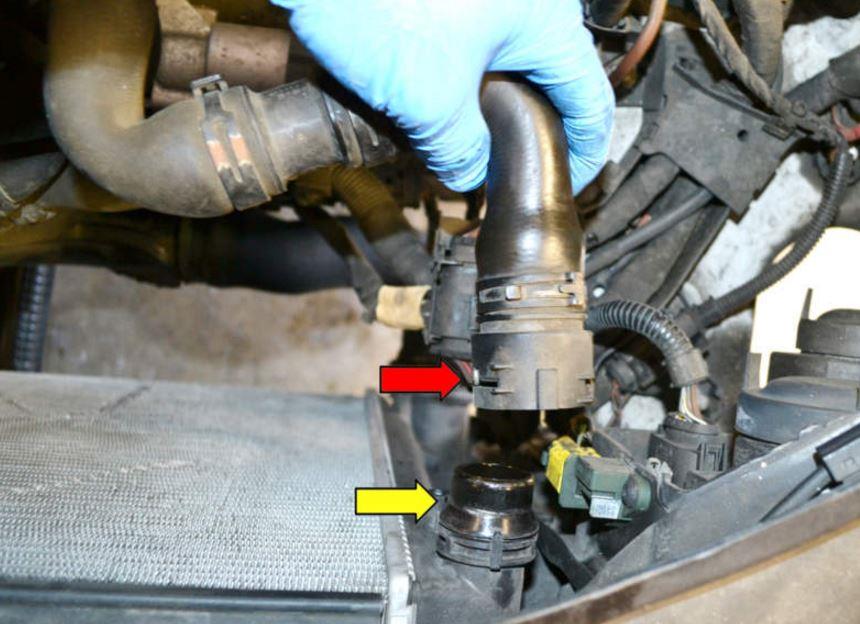
Disconnect the top radiator hose and the electrical connector at the top right of the radiator.
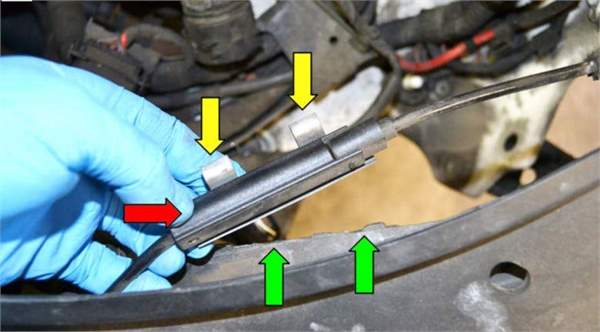
Un-clip the bonnet release cable from the front panel and separate the two halves at the joiner.
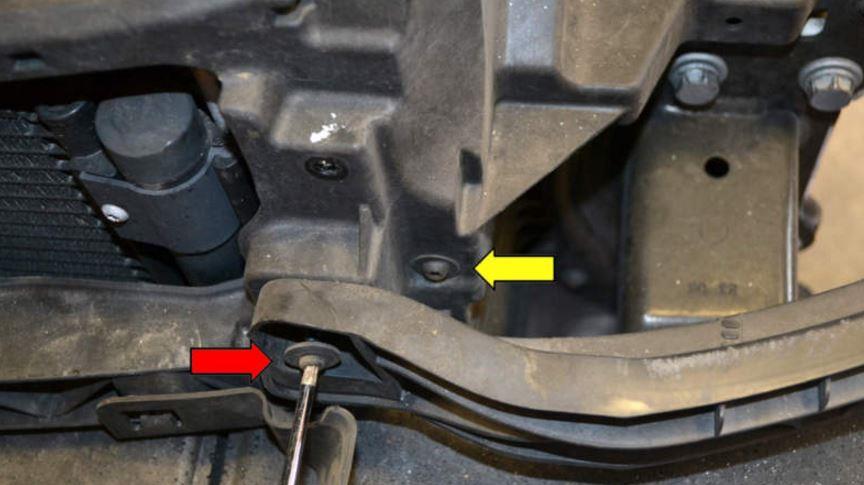
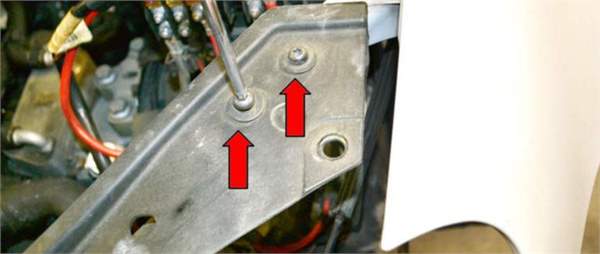
Undo and remove the T30 and T25 torx bolts holding in the headlights and headlight support brackets, remove the headlights then remove the T30 torx bolts holding on the front panel
Remove the bumper bar which is held on with 8 16mm bolts - 4 each side
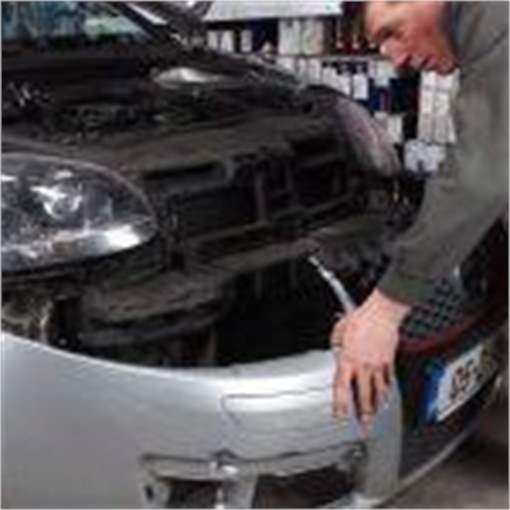
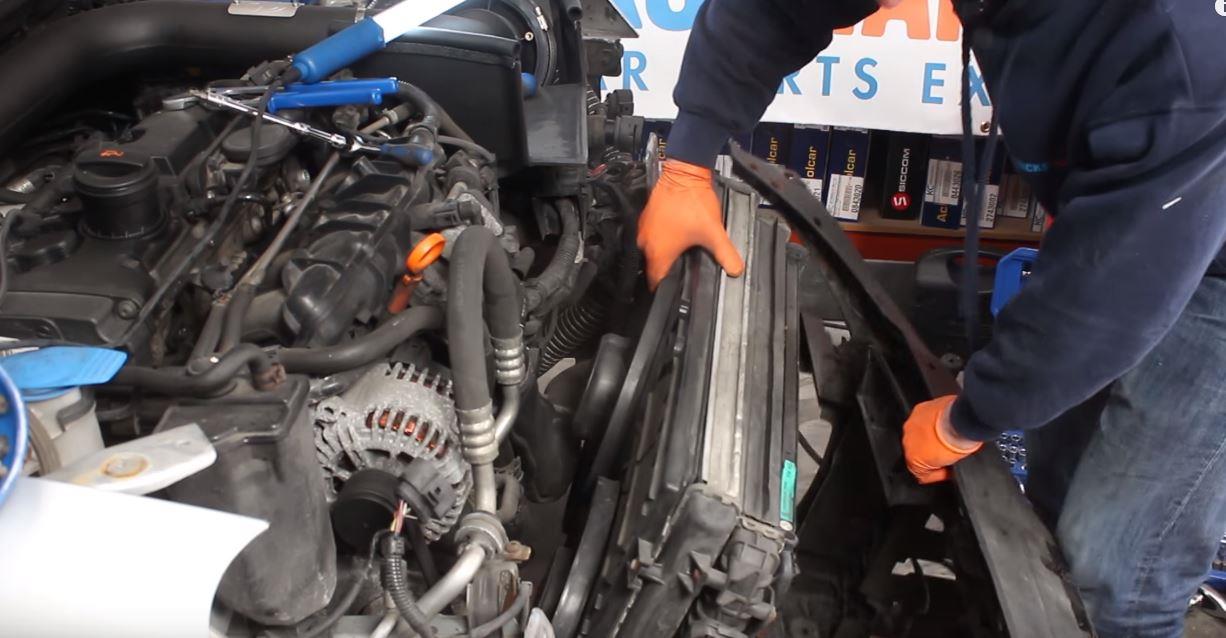
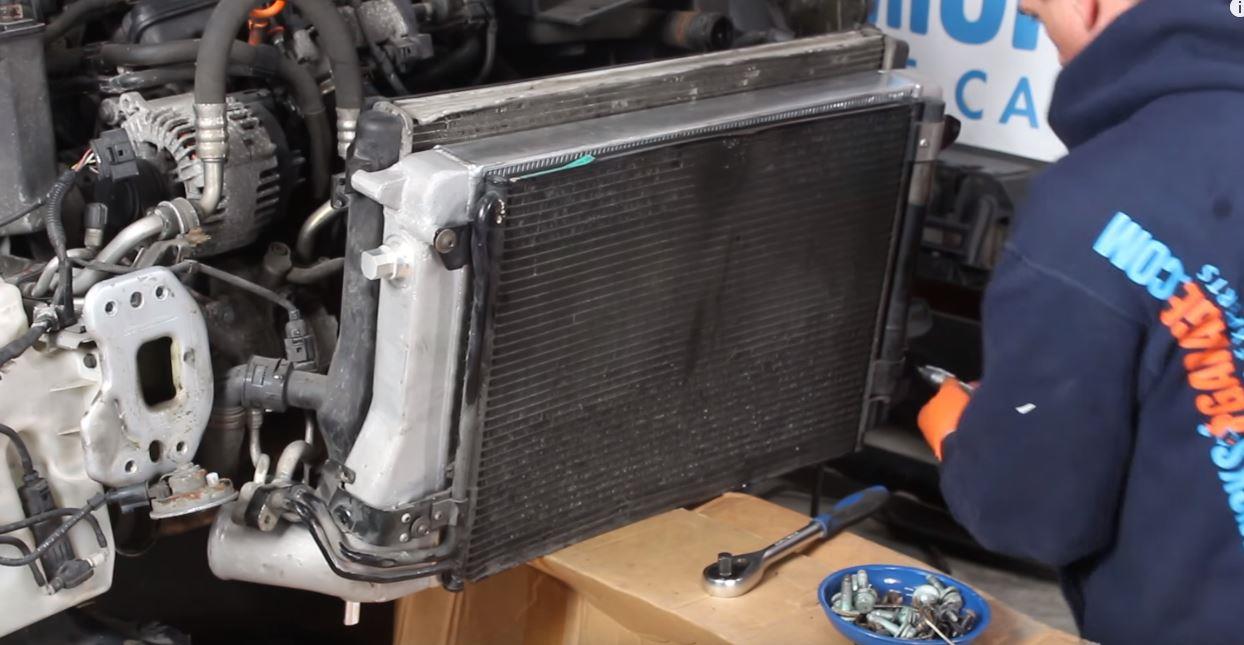
Now this is where you're going to need 2 pairs of hands and something to support the rad/intercooler assembly while you separate them. The rad, intercooler and aircon rad are all sandwiched together. Carefully lift the front panel forwards whilst supporting the rad assembly. There are 2 rubber locating grommets at the bottom of the front panel and you have to wiggle the rad assembly upwards and out of these to separate the two pieces. The rad assembly will still be connected to the car via the aircon pipework so be very careful not to put too much pressure on it.
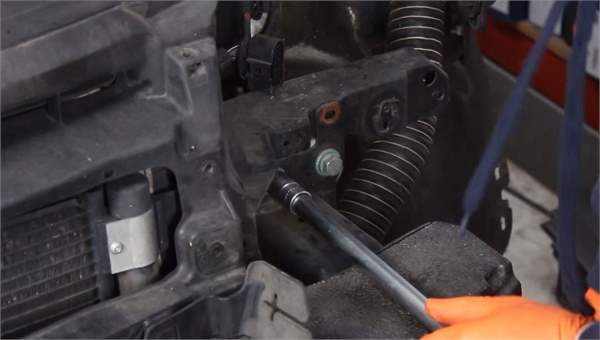
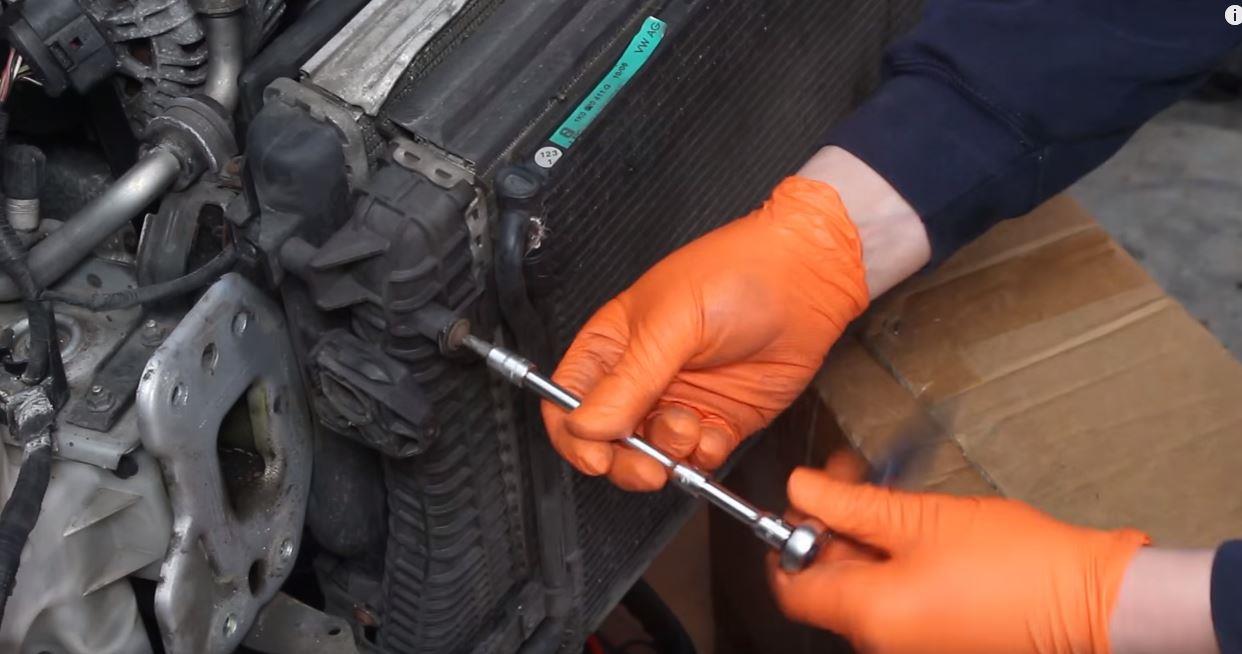
With rad assembly supported you can start to separate the 3 components, again all held together with T25 torx bolts
With all the bolts removed get your mate to slide the intercooler out, again taking care not to stress the aircon pipework.
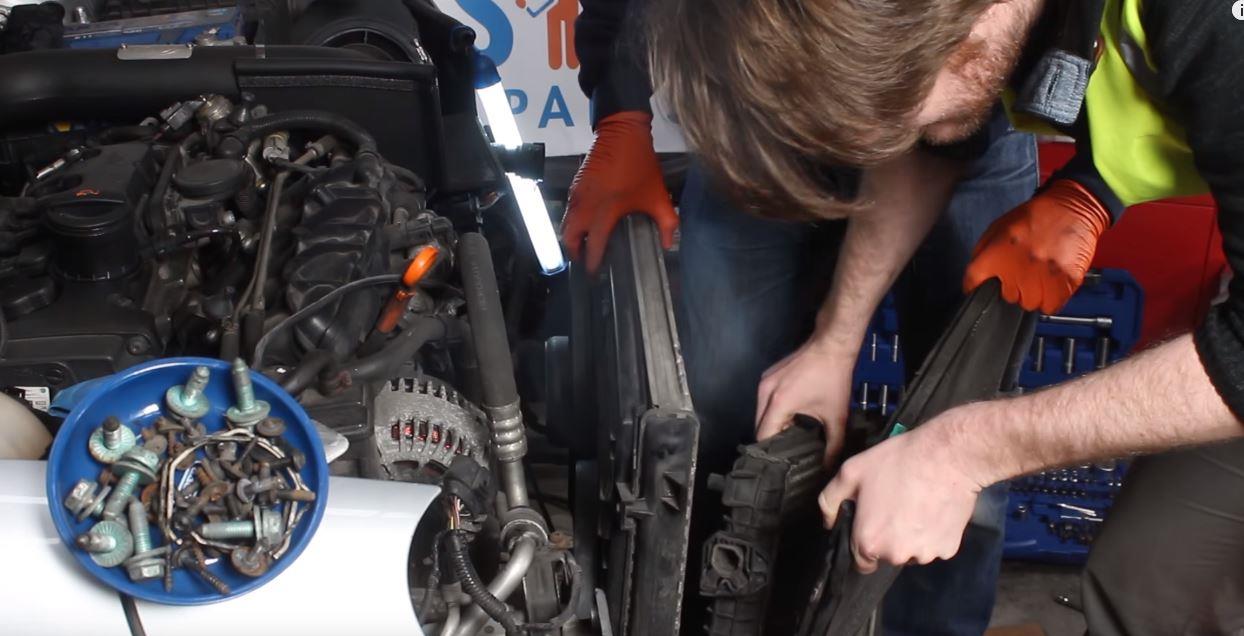
Next you can simply slot in the new Audi S3 intercooler in its place and re-use all the original torx bolts to fasten it back up again.
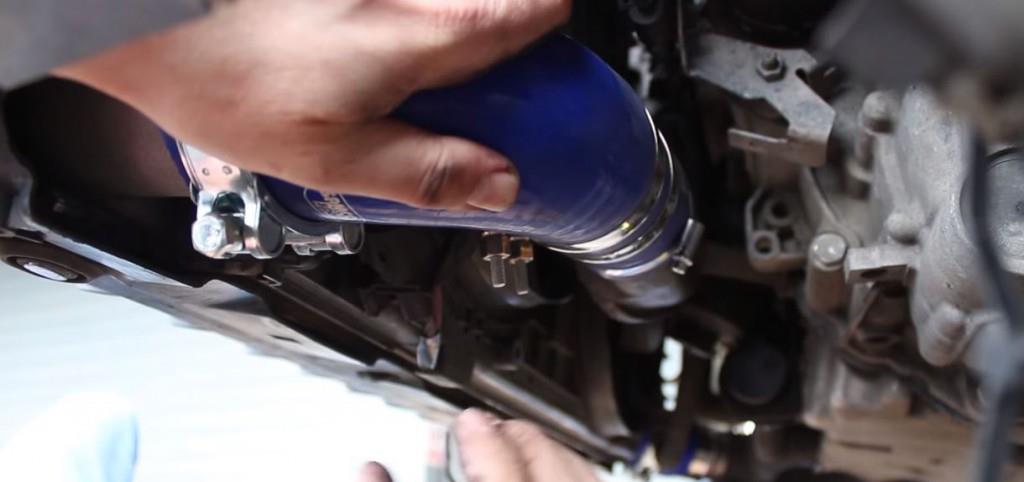
Refitting is simply the reverse of removal but it is worth mentioning that depending on what intercooler option you go for it's likely that you'll have to do some modifications to the intercooler hoses as the car uses quick release clips and as a general rule aftermarket intercoolers rely on flared ends and hose clamps.
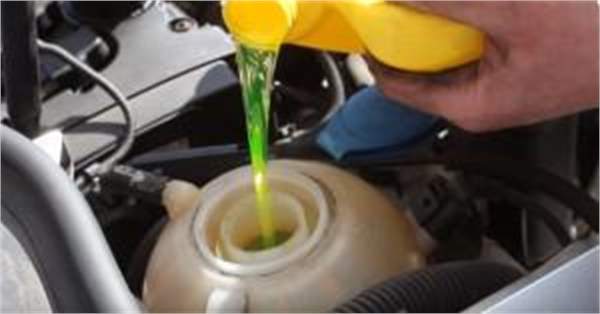
Once you have all the essential items refitted and all the electrical connectors back in place you'll need to refill the engine with coolant and burp out any air bubbles. To do this turn the heater to fully hot and fill the expansion tank to the max line, check for any leaks then start the engine with the expansion cap off. Let it run for just a minute or 2 to let the water circulate, keeping a close eye on the level in the expansion tank. with the car running you can keep it topped up with coolant. You should see plenty of bubbles rising up in the expansion tank.
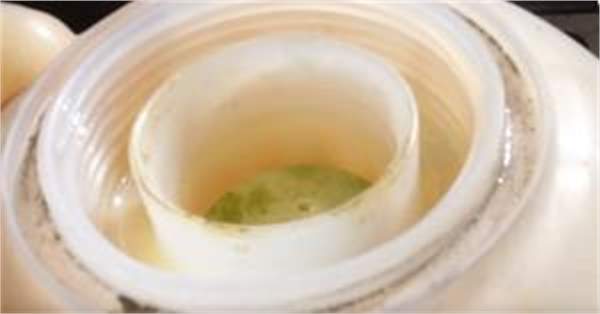
Once the level stops dropping and the bubbles stop rising you can replace the expansion tank cap. It's probably a good idea to do all this before you put the bumper back on so if there are any leaks or major issues you don't have to take the whole lot off again. Once you're happy there are no leaks let the car run and get up to temperature, making sure the fan kicks in when it's supposed to and it doesn't overheat. If everything is hunky dory get the bumper and lights back on and go for a test drive!
Click here for more
Project GTI articles & videos
Need parts for your GTI? from the mk1 right through to the latest mk7 we have you covered!
Click here to browse all Golf parts