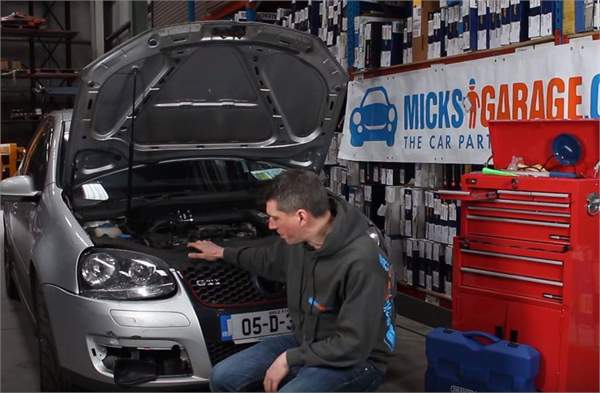
A few months ago our Project GTI had a minor fender bender and received a bit of damage to the front end. It didn't look too bad to be honest but when we took the bumper off for a closer look we realised the damage was a bit more extensive than we initially thought and some sections of the bumper and front panel weren't going to be repairable at all. The initial plan was to do a DIY repair but the extent of the damage meant that was no longer going to be feasible.
We got in touch with local crash repair & service centre, Crofton Motors, we popped down to see them and had a chat about what they could do for us. When you visit a place like this it's hard not

be impressed as the cars going in the door are invariably a bent and mangled mess of metal and plastic but what gets handed back to the customer is totally transformed, gleaming and looking as good as new!
After seeing some of the processes involved on our first visit we thought it would make a really interesting video, so we came back a few weeks later and the guys at
Crofton Motors let us film them repairing and respraying our car from start to finish.
Check out how it's done:
The process for most repairs can be split into 5 phases:
Stripping Phase;
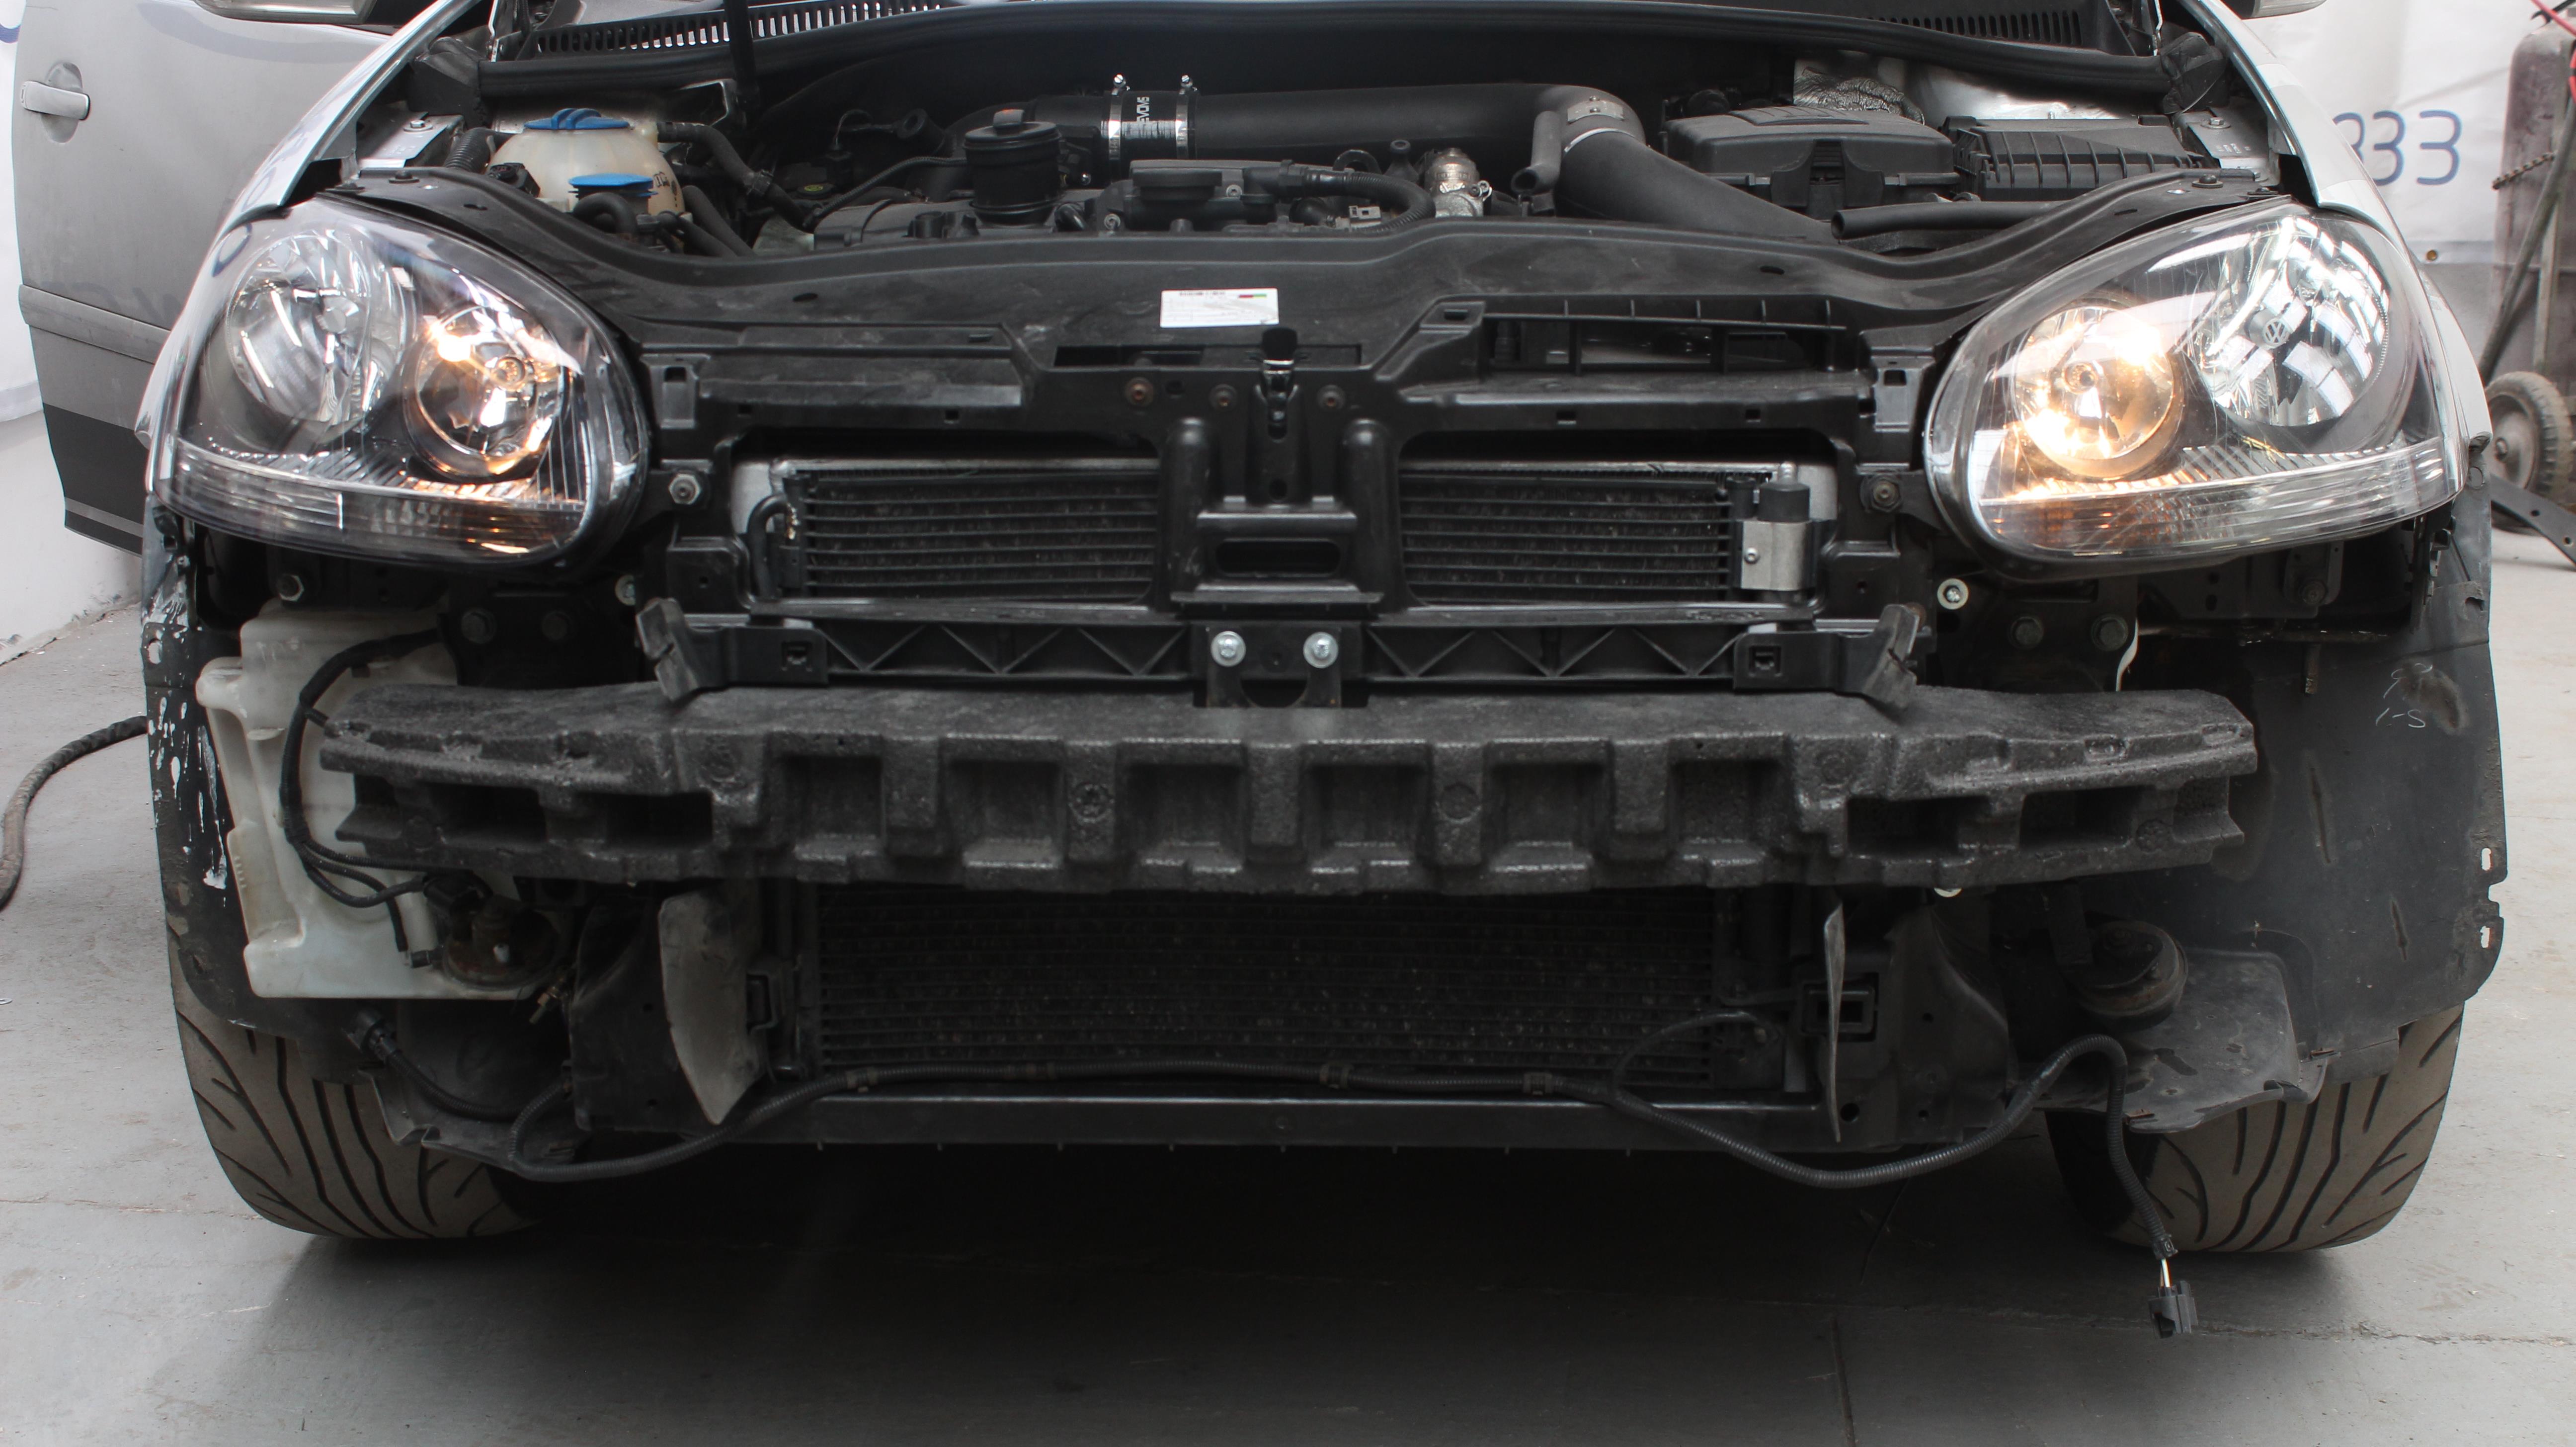
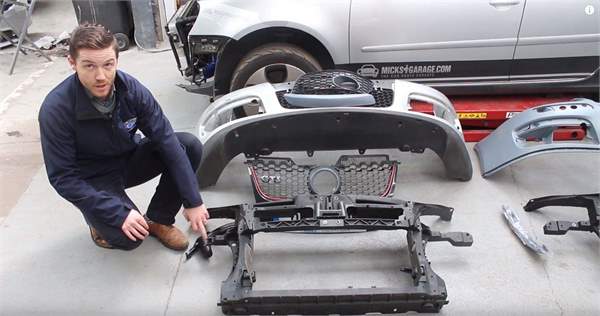
In the initial stripping phase all the damaged panels and components are removed to assess the true extent of the damage. With modern cars which are built with all kinds of crumple zones and sections that are designed to break in the event of an impact it's extremely common to find additional components that need replacing. Our Golf was no different. From the outside it looked like it just had some very mild damage to the front bumper and a couple of broken headlight brackets but what it actually needed was:
All the parts were ordered from MicksGarage with the exception of the bonnet release mechanism and the headlamp support bracket which were sourced OE from Volkswagen
 Repair Phase;
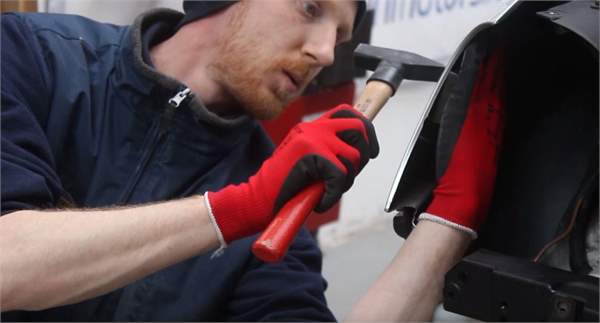
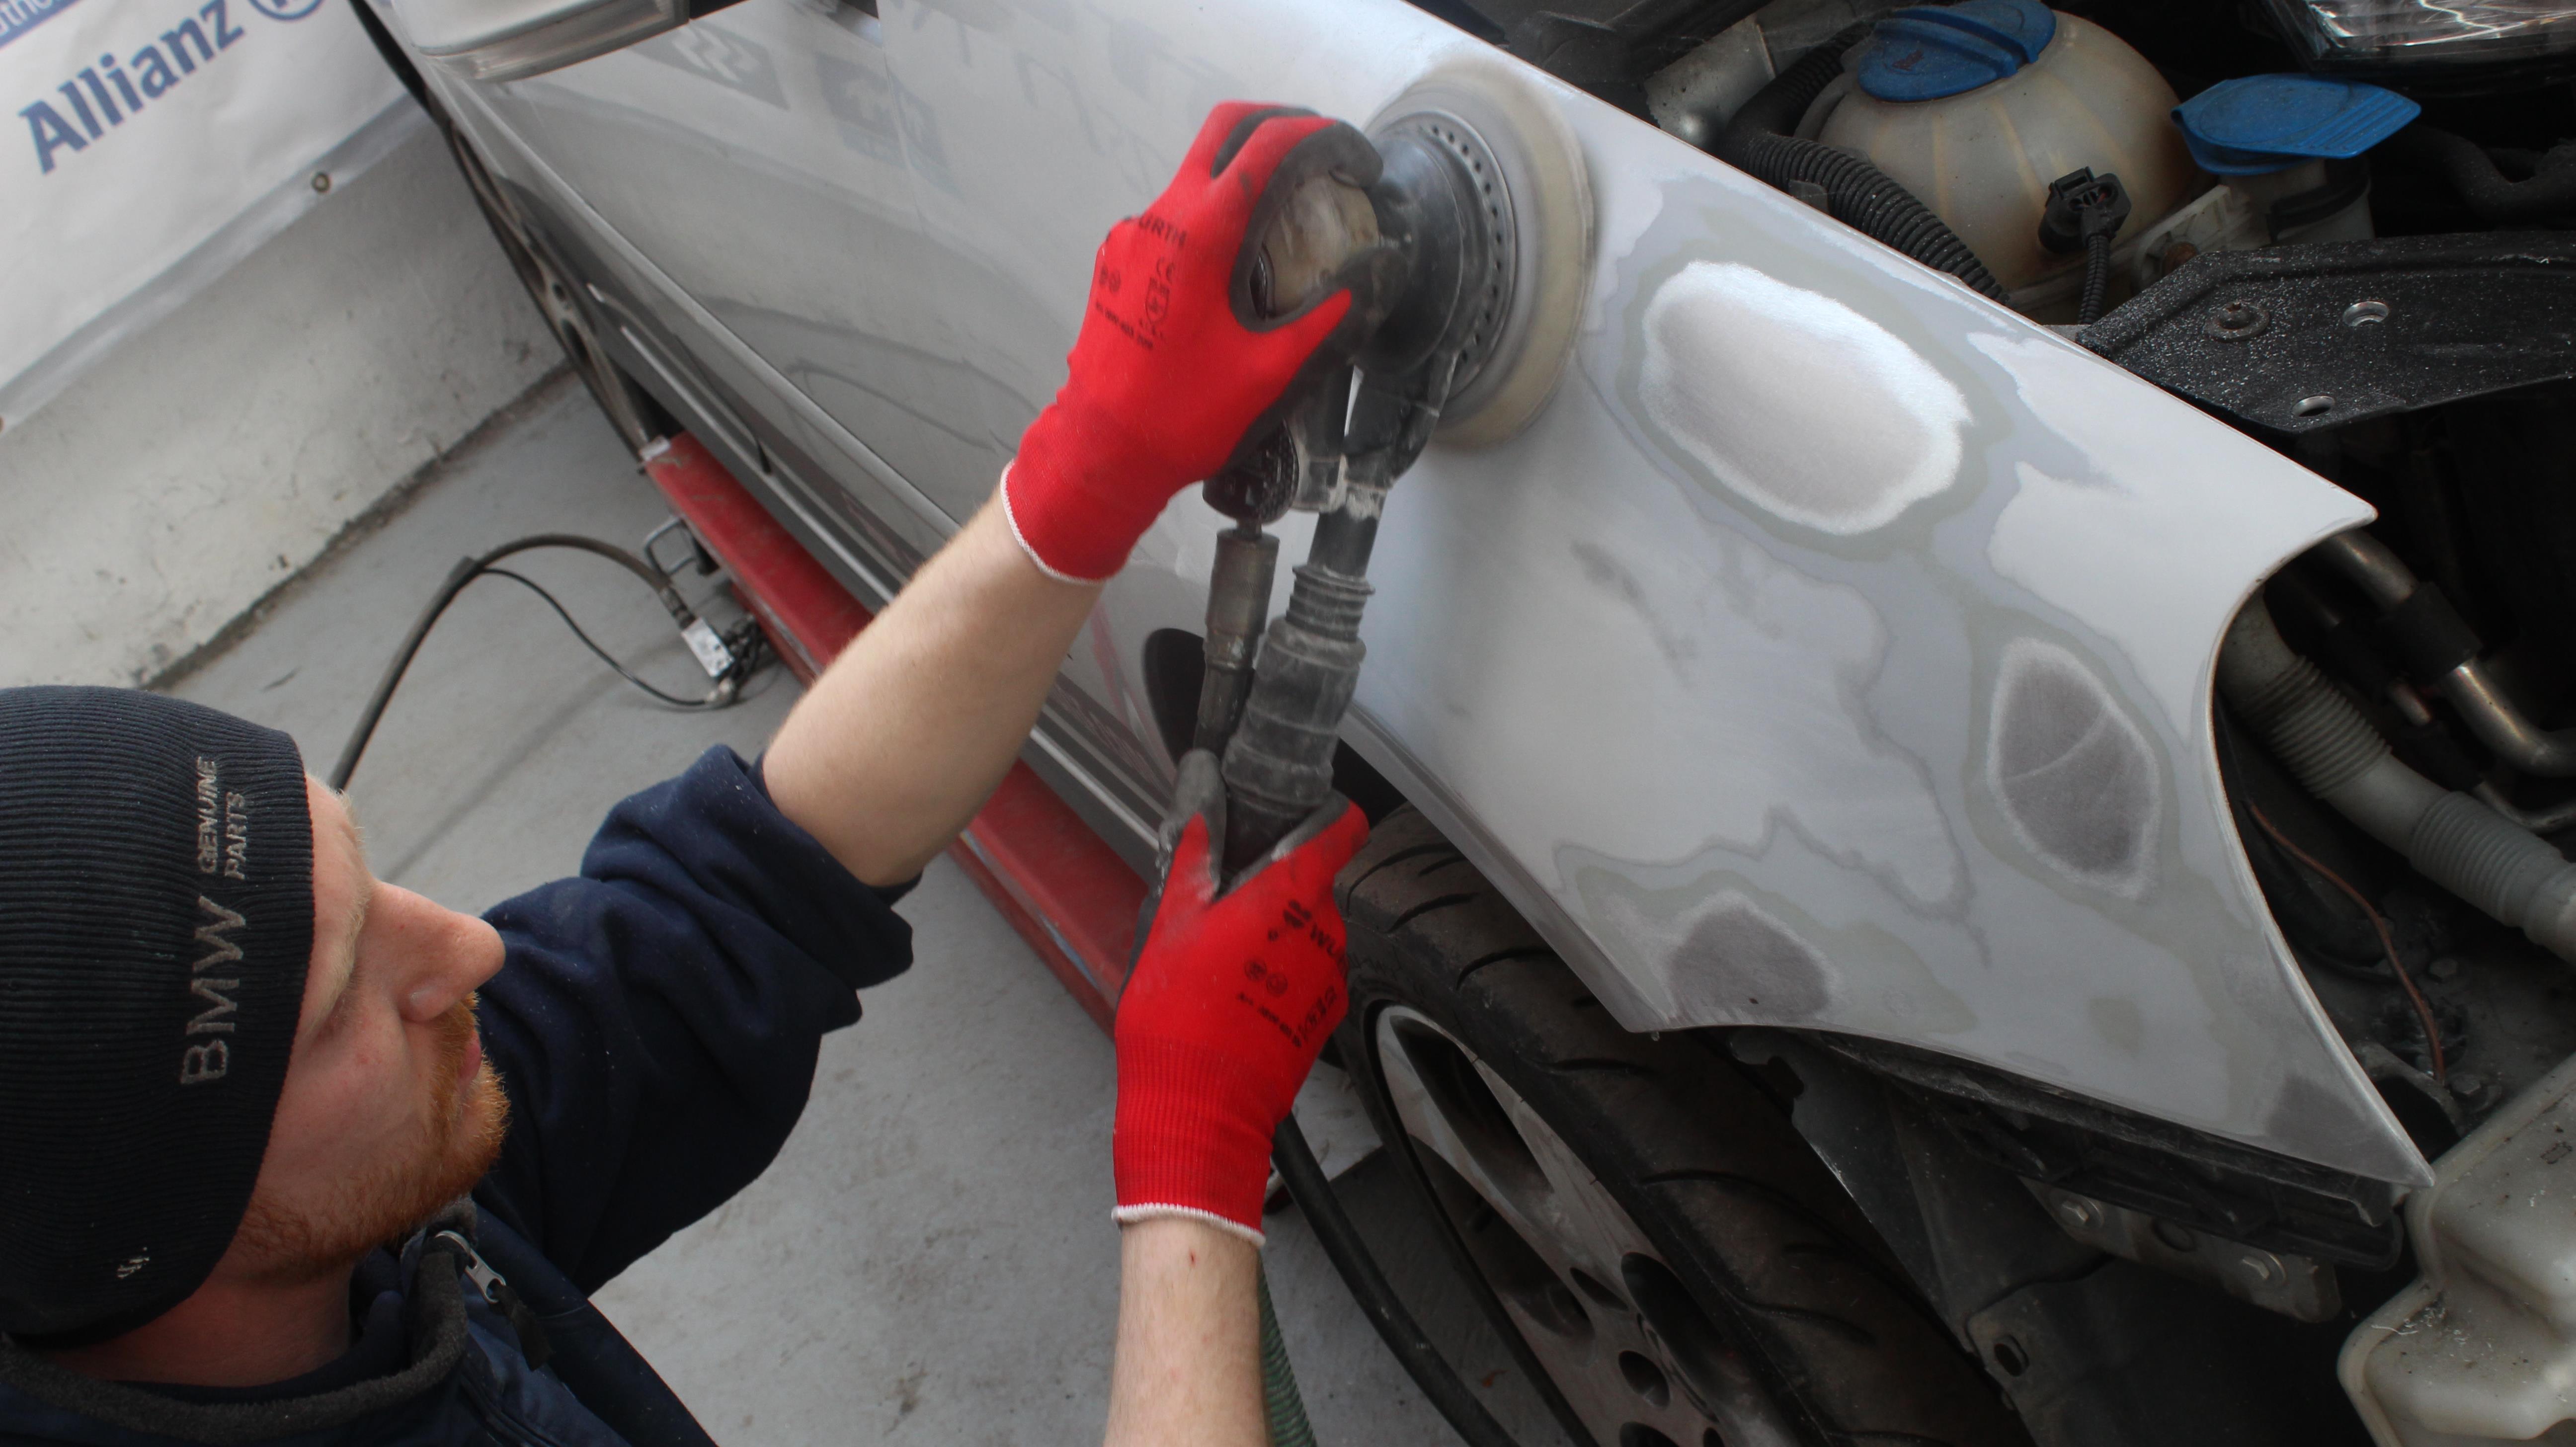
The repair phase was, for me the most interesting to watch as it involved some real old-world panel beating skills - I always find it fascinating to see a skilled craftsman at work, no matter what his trade. The front wing on our Golf appeared to have the slightest bit of damage on the leading edge but once the repair work started it became apparent that the damage on that leading edge had caused other high and low spots throughout the rest of the panel. All of these were expertly massaged out by hand with a hammer and dolly. The high points were then blended out to the rest of the paint by filing and sanding.
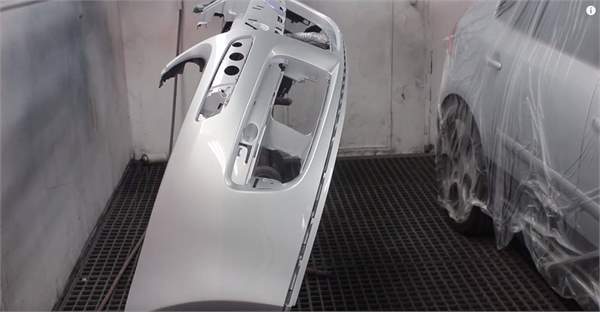
Once the repair work was complete the car was built back up again using all of the new components and the panel gaps all set and triple checked. The repaired wing and the new bumper were then fine finished ready to be sent to the paint shop for primer.
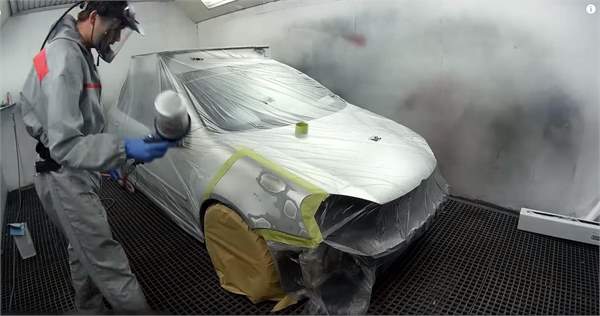
 Paint Phase;
For the initial paint phase the car is masked off in the spray booth leaving just the panels to be painted exposed. Final cleaning and degreasing is carried out and a few coats of primer are layed down. Once dry the car is removed from the booth and the primed panel is sanded again and checked for any imperfections.
The next step was to select the correct shade of paint, this was another interesting process. The colour code can be found in the handbook or on a sticker on the body of the car, usually in the spare wheel well, ours was LA7w, a metallic silver. But what I didn't know was that within the LA7w paint code there can be 5 or 6 variations, each one ever-so slightly different and almost indiscernible unless you hold them all up together against the car. These slightly different shades of the same paint code are designed to account for slight variations in the original factory paint and also to allow for paint that may have faded over time.
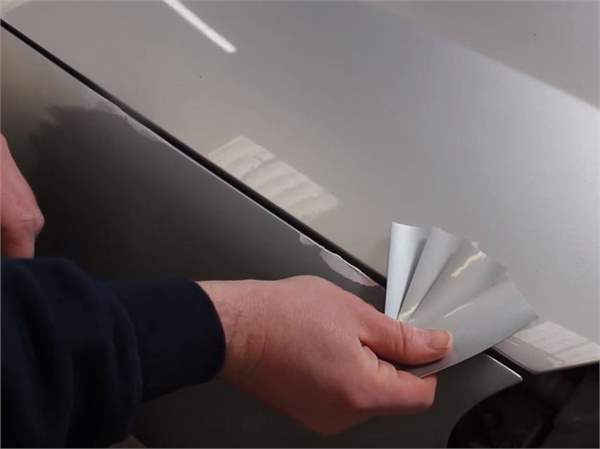
A special 3M light which simulates daylight is used to double check the shade. The paint is then mixed and a test
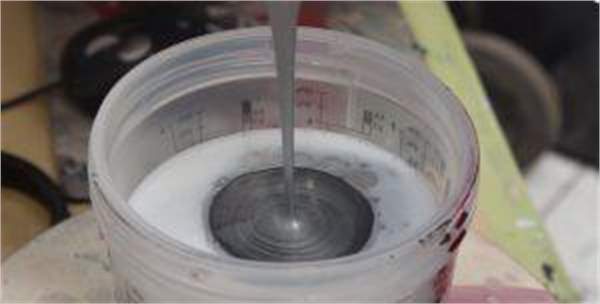
card is sprayed and checked against the car to ensure its a good match. There are a number of techniques the paint technician can employ in addition, such as applying a drop coat (a light dusting of paint which is 'dropped' onto the panel) to ensure the paint is a 100% match to the car.
3 Coats of base coat are applied and between 2 and 5 coats of lacquer depend on the repair being done, The whole lot then gets baked until dry.
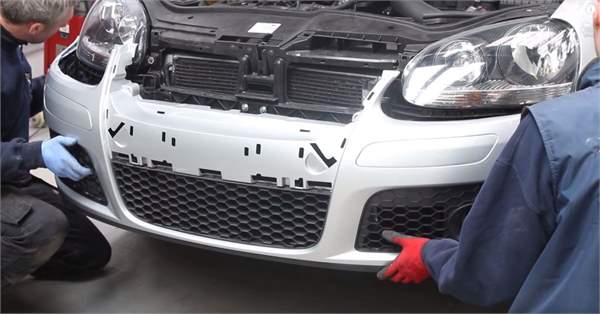
 Rebuild Phase;
The penultimate phase is the rebuild phase. All the components which can be re-used from the old bumper such as grilles and emblems are transferred to the new one. The front panel, bumper, lights and all the other bits and pieces are reassembled and the panel gaps are once again set and checked. The headlamps are focused and a full diagnostic check is run and any fault codes caused by disconnecting lamps etc are cleared.

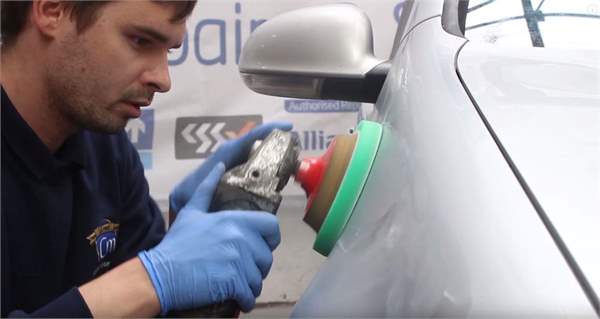
 Paint Finishing Phase;
The final phase is to closely examine the repair inch by inch and remove any paint imperfections if needed. Using a 3 stage, 3M process any imperfections are cut, glazed and polished out. A final colour check is carried out and the car then heads to the valeting bay where it will be hoovered and cleaned inside and washed on the outside before being handed back to the customer.

And that, as they say folks, is that! If you haven't seen it yet I'd urge you to watch the video at the top of the page as it goes into much more detail than this article. What I thought was most interesting about the whole process was the sheer level of preparation involved in even a relatively minor repair such as ours. The ratio is roughly 90% prep to 10% actually painting.
Huge thanks all the guys at Crofton Motors for letting us film and for doing such an impressive job on our GTi!
Click here for more Project GTI articles & videos


