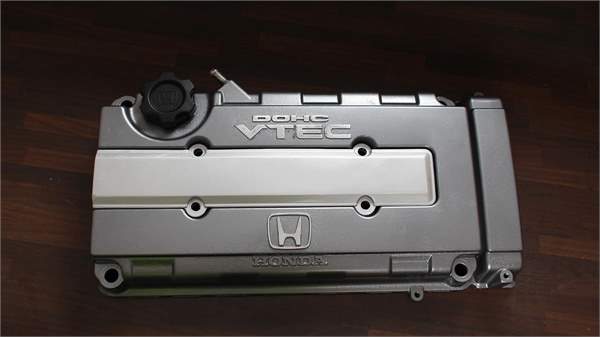
Your cam cover, otherwise known as a rocker cover or valve cover sits right at the top of your engine. They're usually made of aluminium and their function is to cover your engine's valve train. Being one of the most prominent parts of your engine bay, their appearance can have a dramatic impact on the overall look of your engine. From the factory, your cam cover will most likely have been painted or powder coated but over time this can chip, flake and oxidize leaving a tatty looking finish. Refurbishing and painting your rocker cover is a great beginner's DIY job that can instantly give a fresh new look to your engine bay.
For this demo, we're using the Honda B16 cam cover off Marty's Civic race car. This particular valve cover has been painted, in part before.
Tools You'll Need:
On top of the tools above we wanted to test out two new products that recently came into stock here at MicksGarage, namely the Draper Storm Force Mini Sander and Die Grinder. These are part of the new Storm Force range of DIY
air tools that are used in conjunction with an
air compressor.
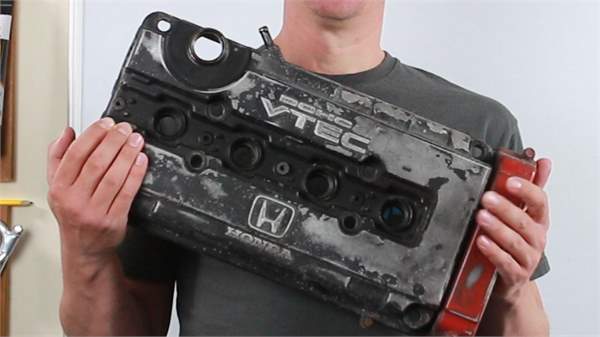 Stripping:
Paint stripping is the first step of the process but before you get cracking, make sure you have
gloves on and some old cardboard or something to protect your work surface. Paint stripper is nasty stuff and if you get it on your skin it burns like crazy. Eye protection is a good idea too. Remove any old gaskets and O rings before you get started.
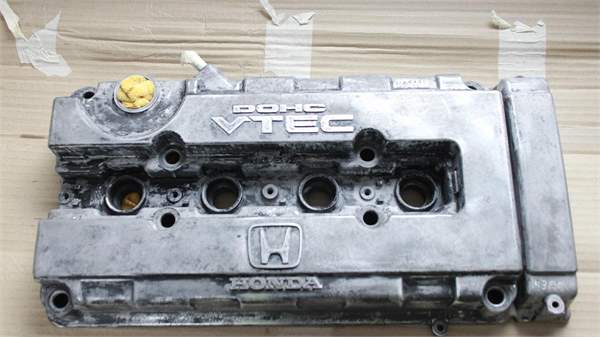
Apply the paint stripper liberally to the cam cover with a paint brush. Depending on the brand of product you use you'll need to leave it to work from anywhere between 10 minutes and 24 hours so be sure to read the instructions on the product you're using.
I've used Nitromorse a bunch of times before and never had any issues, but on this particular job it really didn't perform as well I expected. Maybe it was down to the type of paint on the cam cover but to honest it didn't lift off a huge amount. We had 3 attempts at applying the paint stripper, pressure washing and scraping after each application. This is what the end result looked like.
 Sanding:
The fact that we were left with a bit of paint still to remove was no harm as we wanted to test out these new air tools anyway. First we hooked up the
Draper Storm Force mini sander to our 24 litre air compressor. We used medium/fine 50mm sanding discs so as not to damage the metal surface. I was skeptical the sander would be any use other than for the large flat surfaces but was pleasantly surprised as the small diameter disc lets you get into a surprising array of nooks and crannies. The dual action sander made short work of the remaining paint on the larger, flatter surfaces but for the deeper recesses, we had to use the
die grinder, which was able to reach a lot of places the sander couldn't but ultimately is limited by the bit you have fitted to it. Thankfully these are a universal size and you can pick up bit sets in pretty much any hardware store, they regularly have them in Lidl or Aldi too.
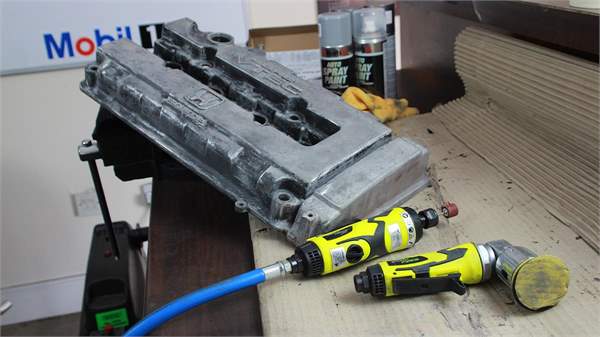
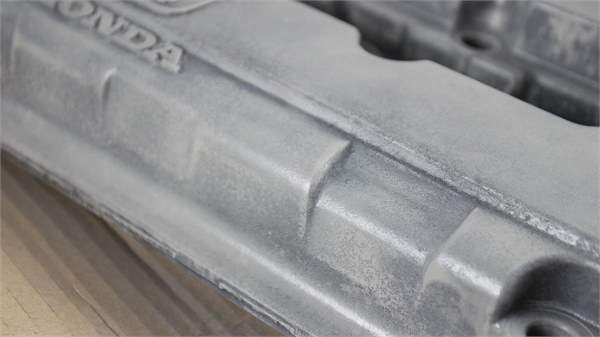
So after about 20 minutes with the air tools, this was the result we finished up with. While it looks like you can still see a fair bit of paint, the surface, more importantly, does feel smooth to the touch with no ridges or raised areas where the paint still remains. The air tools themselves worked great but both consume 7cfm of air whereas the compressor we were using only flowed 5cfm so we did have to wait for it to catch up occasionally.
 Blow, Degrease & Mask:
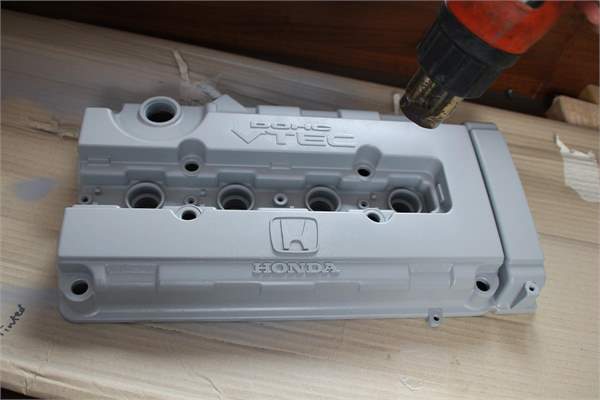
The next step involves a quick blow out with the airline (this is a super handy benefit of owning a compressor) a spray down with degreaser, another blow with the air line and then a quick blast with a heat gun to warm up the metal which will dry out any moisture and help the primer stick. Before you apply the first coat of primer, make sure the work area is as dust free as possible and mask off any areas you don't want painted.
 Prime:
We used a
filler primer as we figured there may be the odd mark and scratch we'd wan't to sand out. Apply the primer in 3 or 4 thin coats, letting each coat dry before applying the next rather than one thick coat, this helps avoid runs. We used a heat gun to speed up the process by warming the metal slightly prior to applying each layer. **be careful as too much heat can cause the paint to lift.**
 Paint:
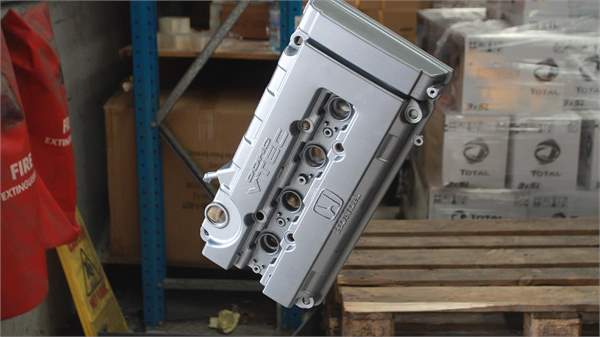
Once you're happy with the primer finish and you have a good few layers built up, you can move on to paint. It's the same process of applying multiple thin layers and letting them dry in between applications. By doing this you avoid the risk of the paint pooling and running. The paint we used was an Alfa Romeo metallic grey with a paint code of 696. When you're using a metallic paint you need to us a lacquer too. We stock a huge range of colour
match paints which is ideal if you want your cam cover to tie in and match the body colour of your car
 Lacquer:
Once the paint is dry you can break out the heat gun again and warm up the cam cover slightly, ready to apply the lacquer. Again it's the same process of building up multiple, light layers to get a smooth glossy finish.
 Sanding & Finishing Touches:
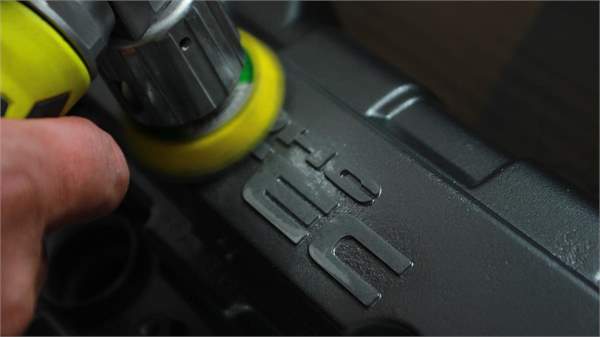
The last part of the process is arguably the most rewarding and definitely the most nerve-wracking as one wrong move can totally mess up all your hard work! The manufacturer's logo is embossed into our cam cover and this needs to be sanded back if you really want it to pop. How you choose to do this is up to you, but do it carefully whatever you do! We used a combination of scrapers, the air sander and the die grinder. Our cam cover had been painted and sanded before and the logo was no longer anywhere near flat, this meant that the flat faced air sander left quite a few low spots of paint so we had the break out the die grinder and wire brush wheel.
 Finishing Touches:
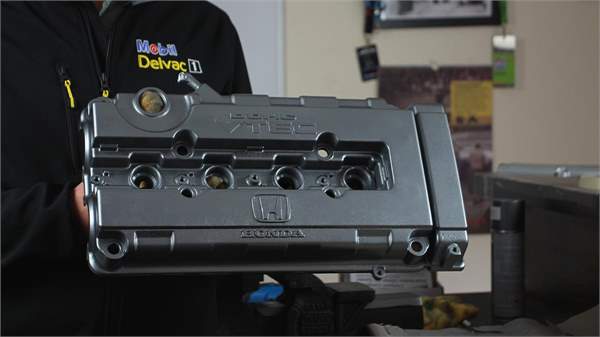
A contrasting colour on the plastic centre section ties in quite nicely with the embossed logo's. On the oil filler cap we gave it a quick coat of
Bumper and Trim paint which we were really impressed with, it looks brand new. Overall we're pretty happy with the result. As with any paint job, the finish is only going to be as good as the preparation you put in and for a race car this was more than good enough
