Hey Guys, delighted to be back with part two of the build. If you missed the first part you can follow it here.
Progress is surprisingly quick. When we left off I was in the middle of spraying the inside, This is hard to do with the cold weather we are having.. I'm glad to report that the job came out pretty well for a “out of the can” job. I masked off the windscreen as this was the only piece of glass that will be remaining in the car along with the gear stick and handbrake and the dash was removed again.
Once I had everything masked I prepped the interior and cage with panel wipes to get as much dirt and grease off. My choice of paint was Hammerite Smooth Direct To Rust White. I used 6 of these cans to do two layers on the floor and cage. The finish is somewhat Matt but no primer required and it dries very quick. This progress took me roughly 10 days between doing a light coat every evening to avoid runs.
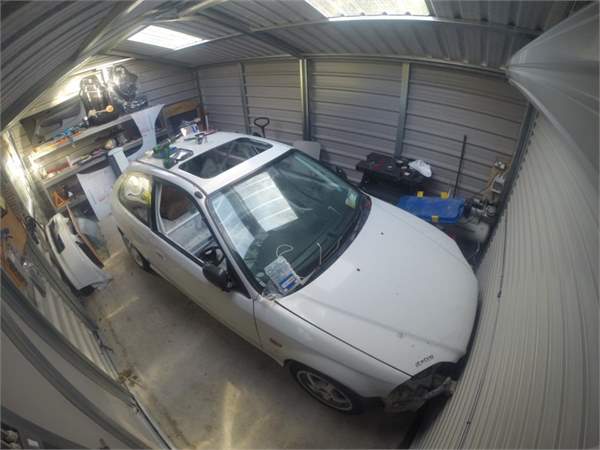 Next on my long list for the interior was to tackle the windows. The two rear quarter windows were removed along with the windscreen when the roll cage was fitted but I still have the rear boot glass and front door windows to tackle.
Thanks to Chris in Murray Motorsport he was able to supply me with a very large sheet of 4mm clear polycarbonate. I looked into getting pre cut windows but looking for a full kit including the rear window was €700+ . I picked this up for €150, the question remained would I get all 5 windows out of it?....Challenge accepted! With the help of a friend (thanks David!) we attacked the rear window.This started off with cutting into the sealer and passing through some wire which we used from old handbrake lines, I was voted to sit in the boot while we pulled the wire back and forward, once we got a bit of heat into the wire it would cut through the sealer like cheese. After roughly 20mins and two pairs of tired arms the window was removed. In the process we also found that the boot was once replaced with a blue tailgate (No Biggie).
The front windows are pretty simple to do which took all of 10 mins. It was simply a case of disconnecting them from the window reg and pulling them out. With all the windows removed it was time to start tracing and cutting. Again with the help of a friend (thanks Eoghan!) we lay the windows out on top of the polycarbonate sheet and drew around them, the issue we had was the back window has a large curve on it as do the front windows. With a Jig Saw and metal cutting blade we managed to get the windows cut out, we also used an angle grinder for the curved edges and trimmed down with a stanley knife.
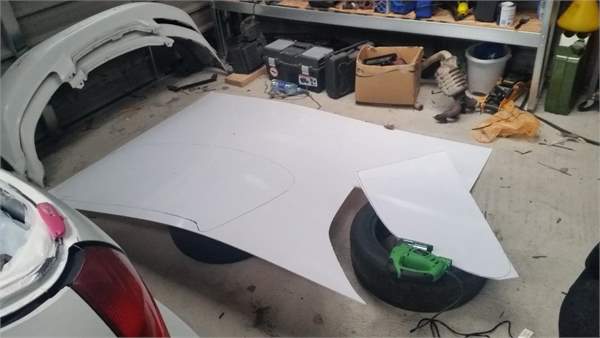 This job took a lot longer than I first anticipated especially with the back window being curved. I applied black tape around the edge to give it a border and to clean up the rough cuts. Self tapping screws and sealer will hopefully keep these in but we will find out at our first trackday. The windows look really nice and clean until I wash the car and it will mark them but we will enjoy the look for now.
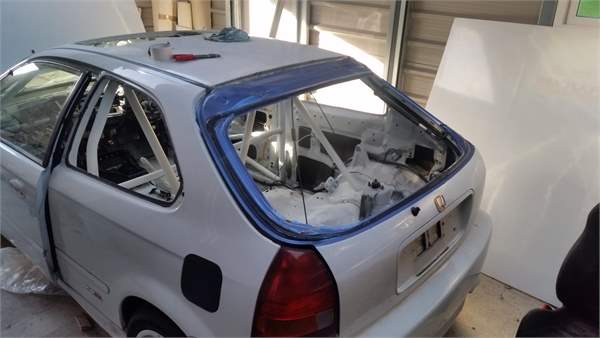
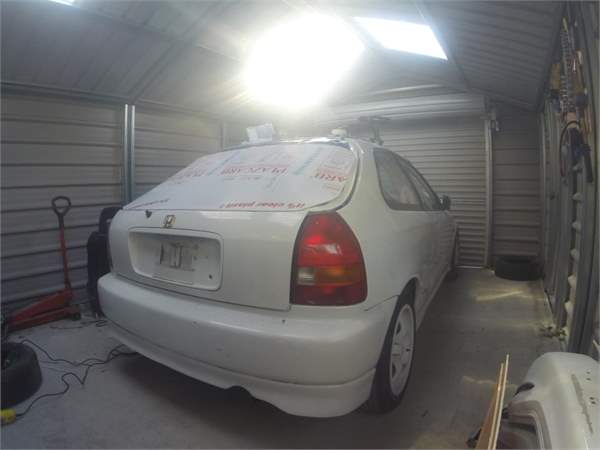 Before refitting the dash I had to fit both external pull cords, these allow a marshall to disengage
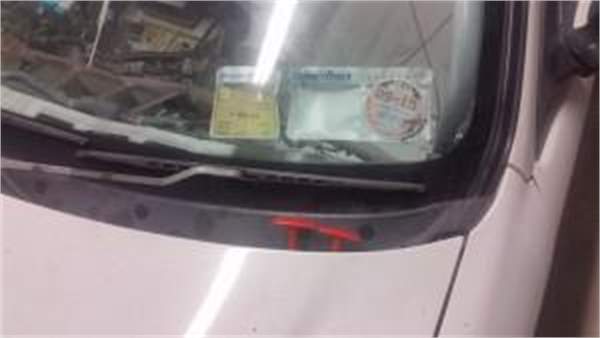 the power to the battery and also engaged the fire extinguisher from outside the vehicle, I drilled through the rain tray below the front windscreen and ran both cables into the interior which I will be later connecting up to the fire extinguisher and kill switch.
This brings me onto the fire extinguisher, Again I collected this Kit from Chris in Murray Motorsport who was as helpful as ever. It's a really good kit and comes with everything needed to fit into the vehicle. A fire extinguisher has to be serviced every two years! This normally costs 70 euro or so. The first thing to do was to choose where to mount the extinguisher, two brackets are drilled directly into the floor (so check what is running under the car - you don’t want to drill through any brake lines!) and the extinguisher is fitted into the straps, you also need to make sure that the label and pressure gauge is facing up so the scrutineers can see it at all times, after that it's pretty simple, run the hose from the extinguisher to the T piece then one line to your engine bay and the other to the driver's compartment.
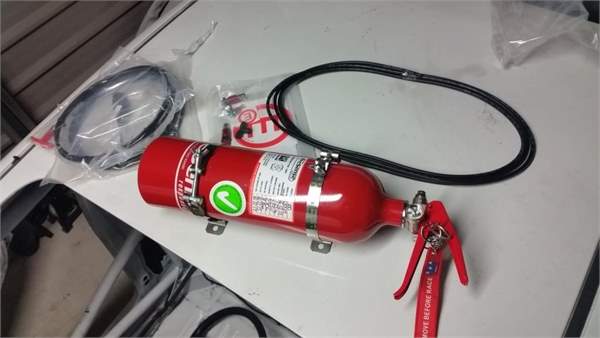 I have one nozzle pointing at the fuel rail and the other at the driver's feet. All that is left to do is connect the pull cable from outside to the extinguisher and also fit a pull cable from the inside that allows the driver to activate the extinguisher if needs be.
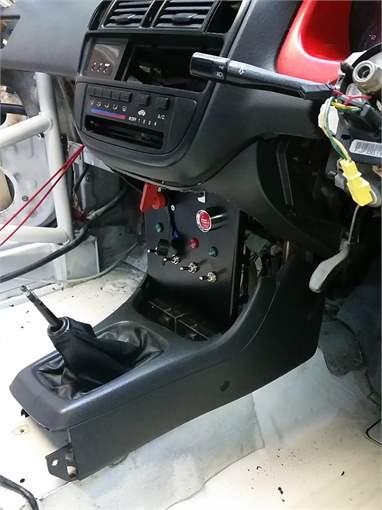
I bought a control panel which will have my kill switch, ignition switch, rain light switch, fan switch and starter button on it, i wanted to try keep it clean looking so opted to fit back some of the plastic interior, with some head scratching and l brackets I came up with this!. Damien Phillips will be tackling the wiring to ensure that every works as it should but more importantly that it is reliable, nothing worse then a switch or wire ending a race weekend.
While the windows were fitted we Decided to gain some free BHP aka remove weight! The door skins were cut out but left me with a massive hole looking into the door skin. I won't be able to get through scrutiny with this due to sharp edges . Trimming and fitting some corriboard will give a nice neat interior finish.
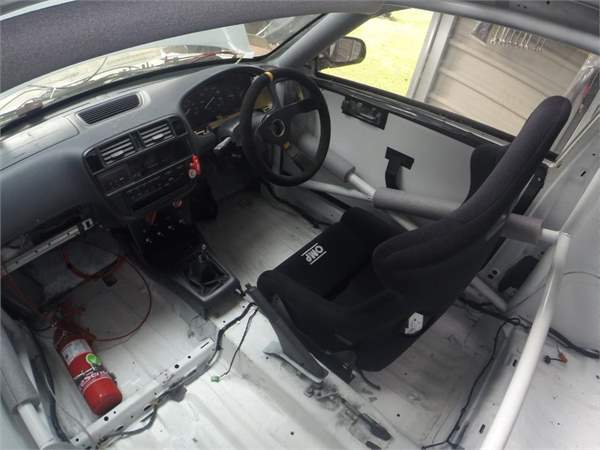 To finally finish off the interior I picked up a new OMP Seat, TRS 6 Point Harness, Boss kit along with a snap off kit.
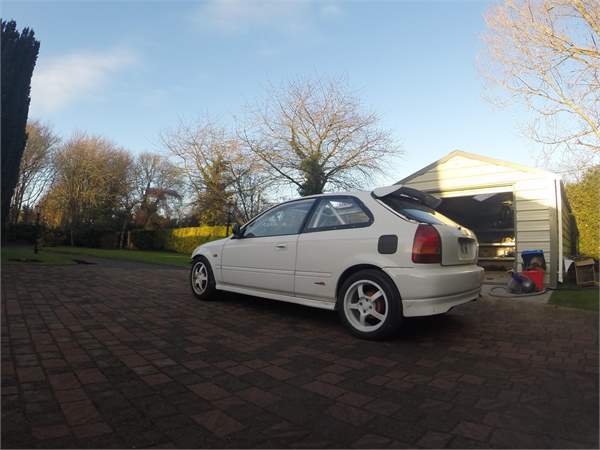 The interior is not 100% finished but I have a small list of things to do, but at present I could drive the car if needs be. I've already started working on the exterior with changing the brake set up on the rear and fitting the exhaust system. Tyres, Alloys,Upgraded radiator along with and a huge amount of service Items await to be fitted which will all be in my final post. Time is ticking as I am aiming to have a shakedown in Mondello on the 30th of January….No pressure